
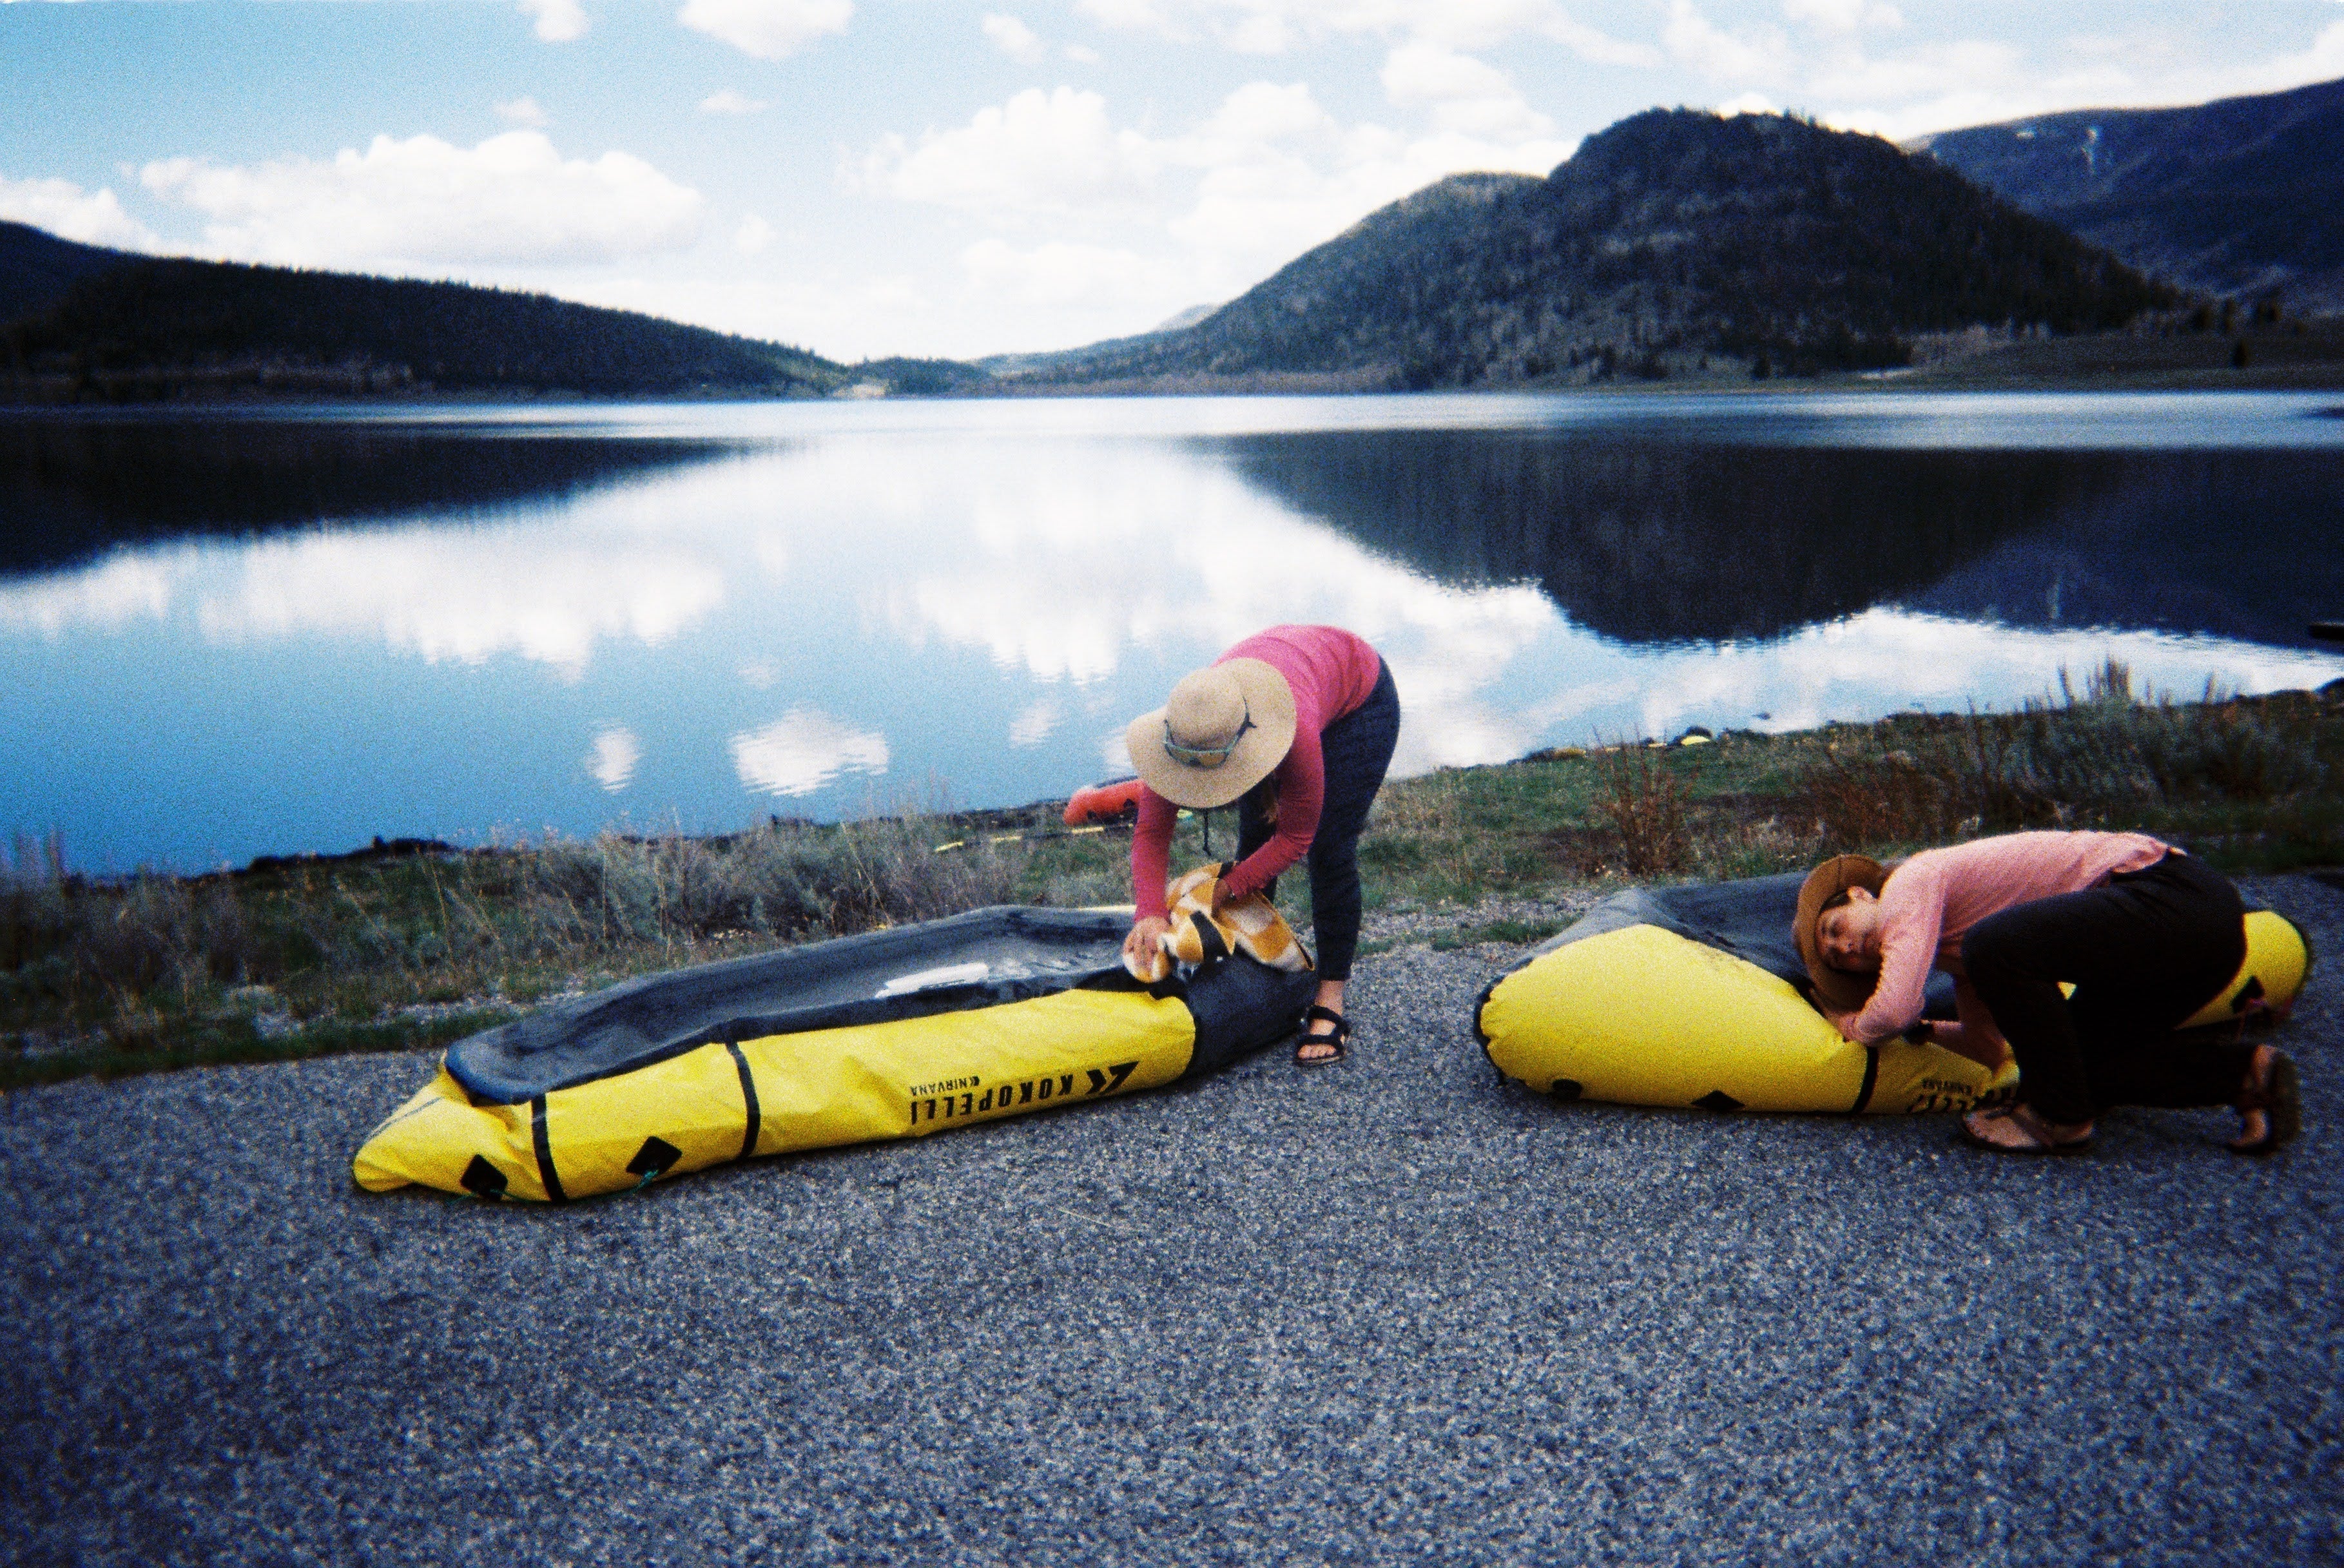
Our first packrafting trip was supposed to be straightforward: hike a half mile down a steep gulch, the map even said it was a trail, then put in to Lake Powell and float 6 miles into the Escalante...

This story comes from our Spring/Summer 2025 Ambassador, Amanda B. I left the factory wondering what my life would be like. It was the spring of 2023 when I was packed into a box, tossed into the b...

GEAR AID at Yosemite Facelift 2024: A Weekend of Repairs, Climbs, and Community
Last month the GEAR AID crew attended Yosemite Facelift 2024, a five-day cleanup event hosted by the Yosemite Climbing Association. This annual event in the national park is all about giving back t...
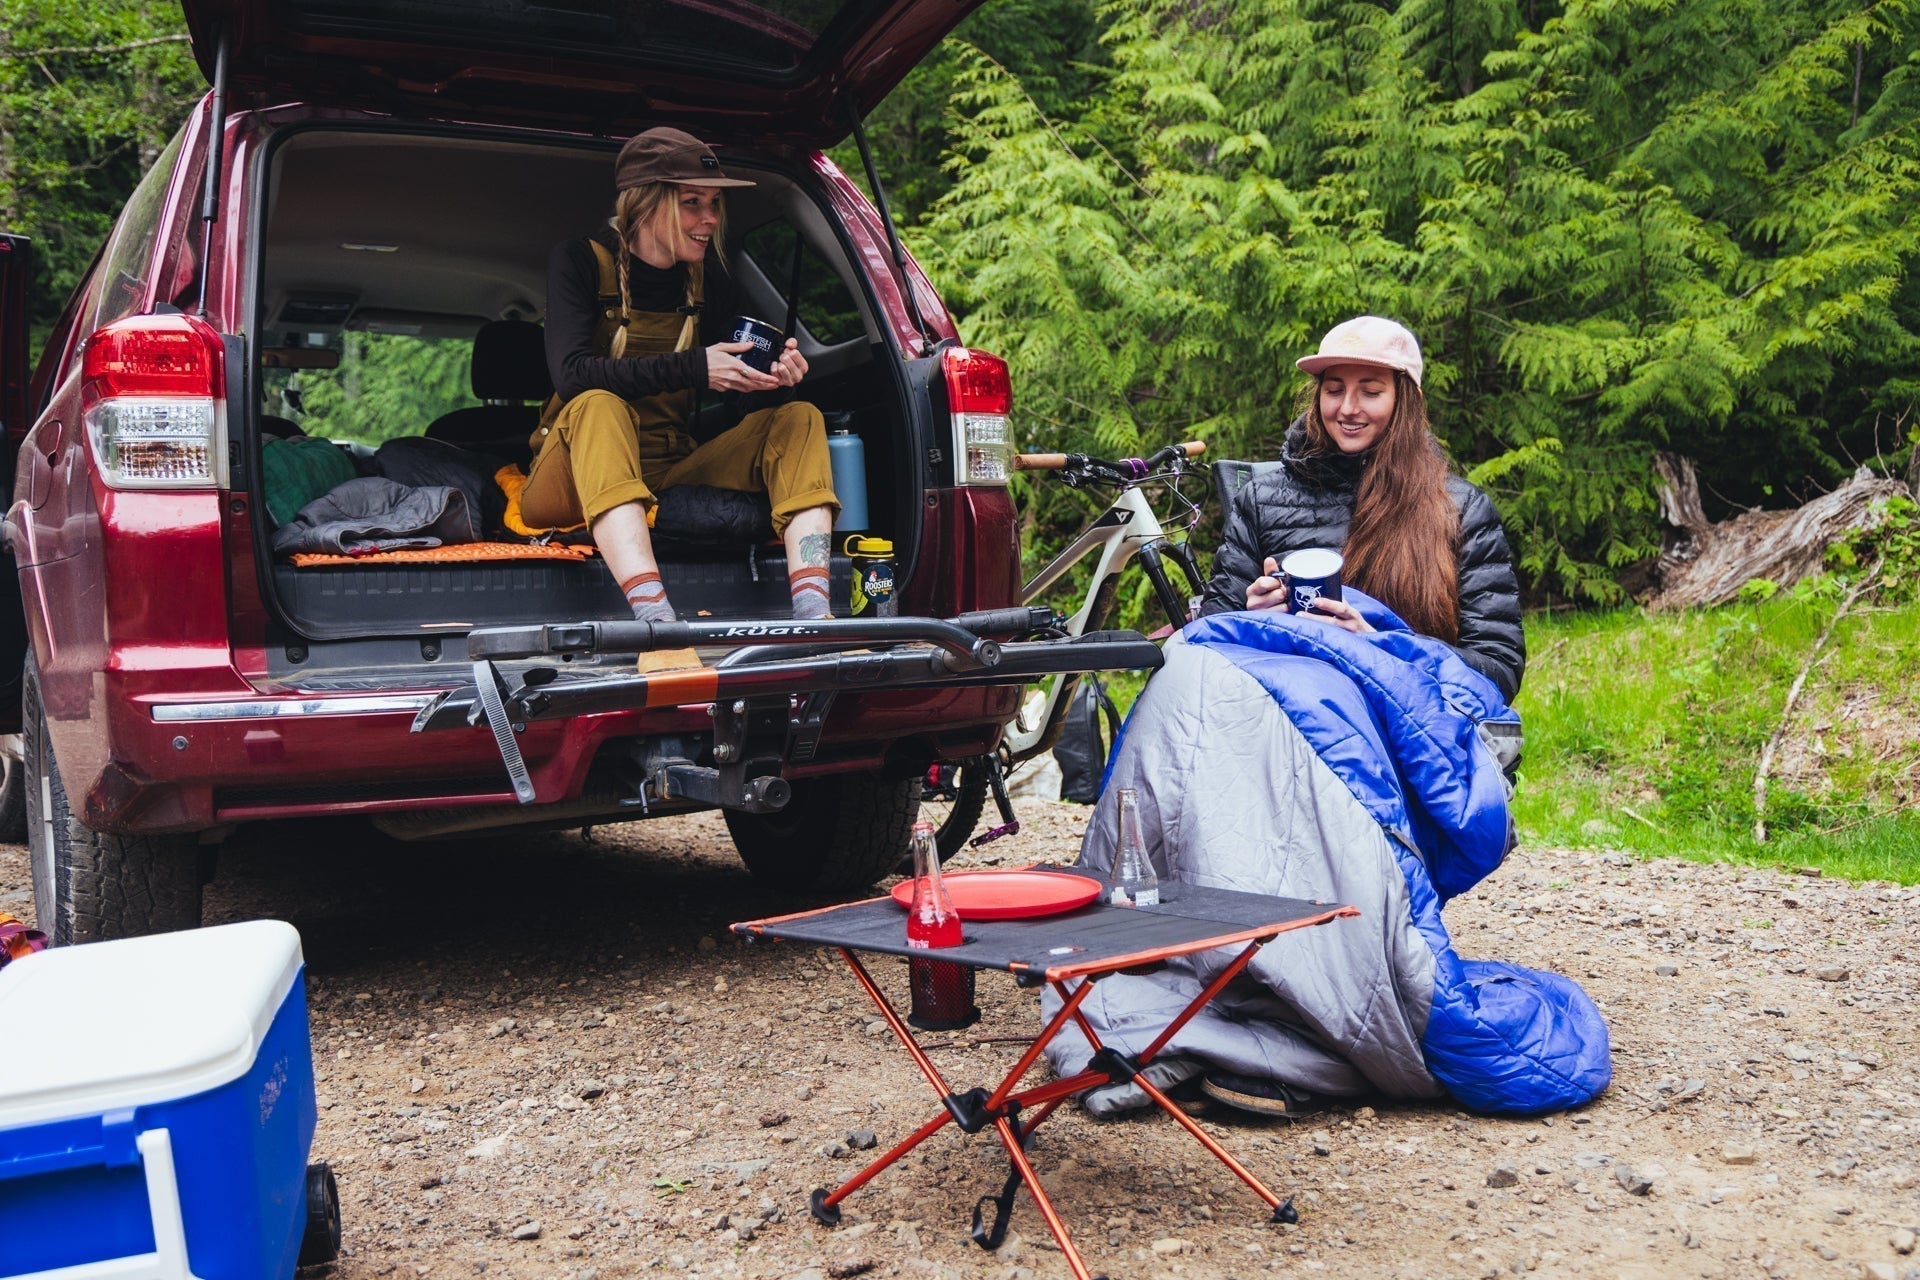
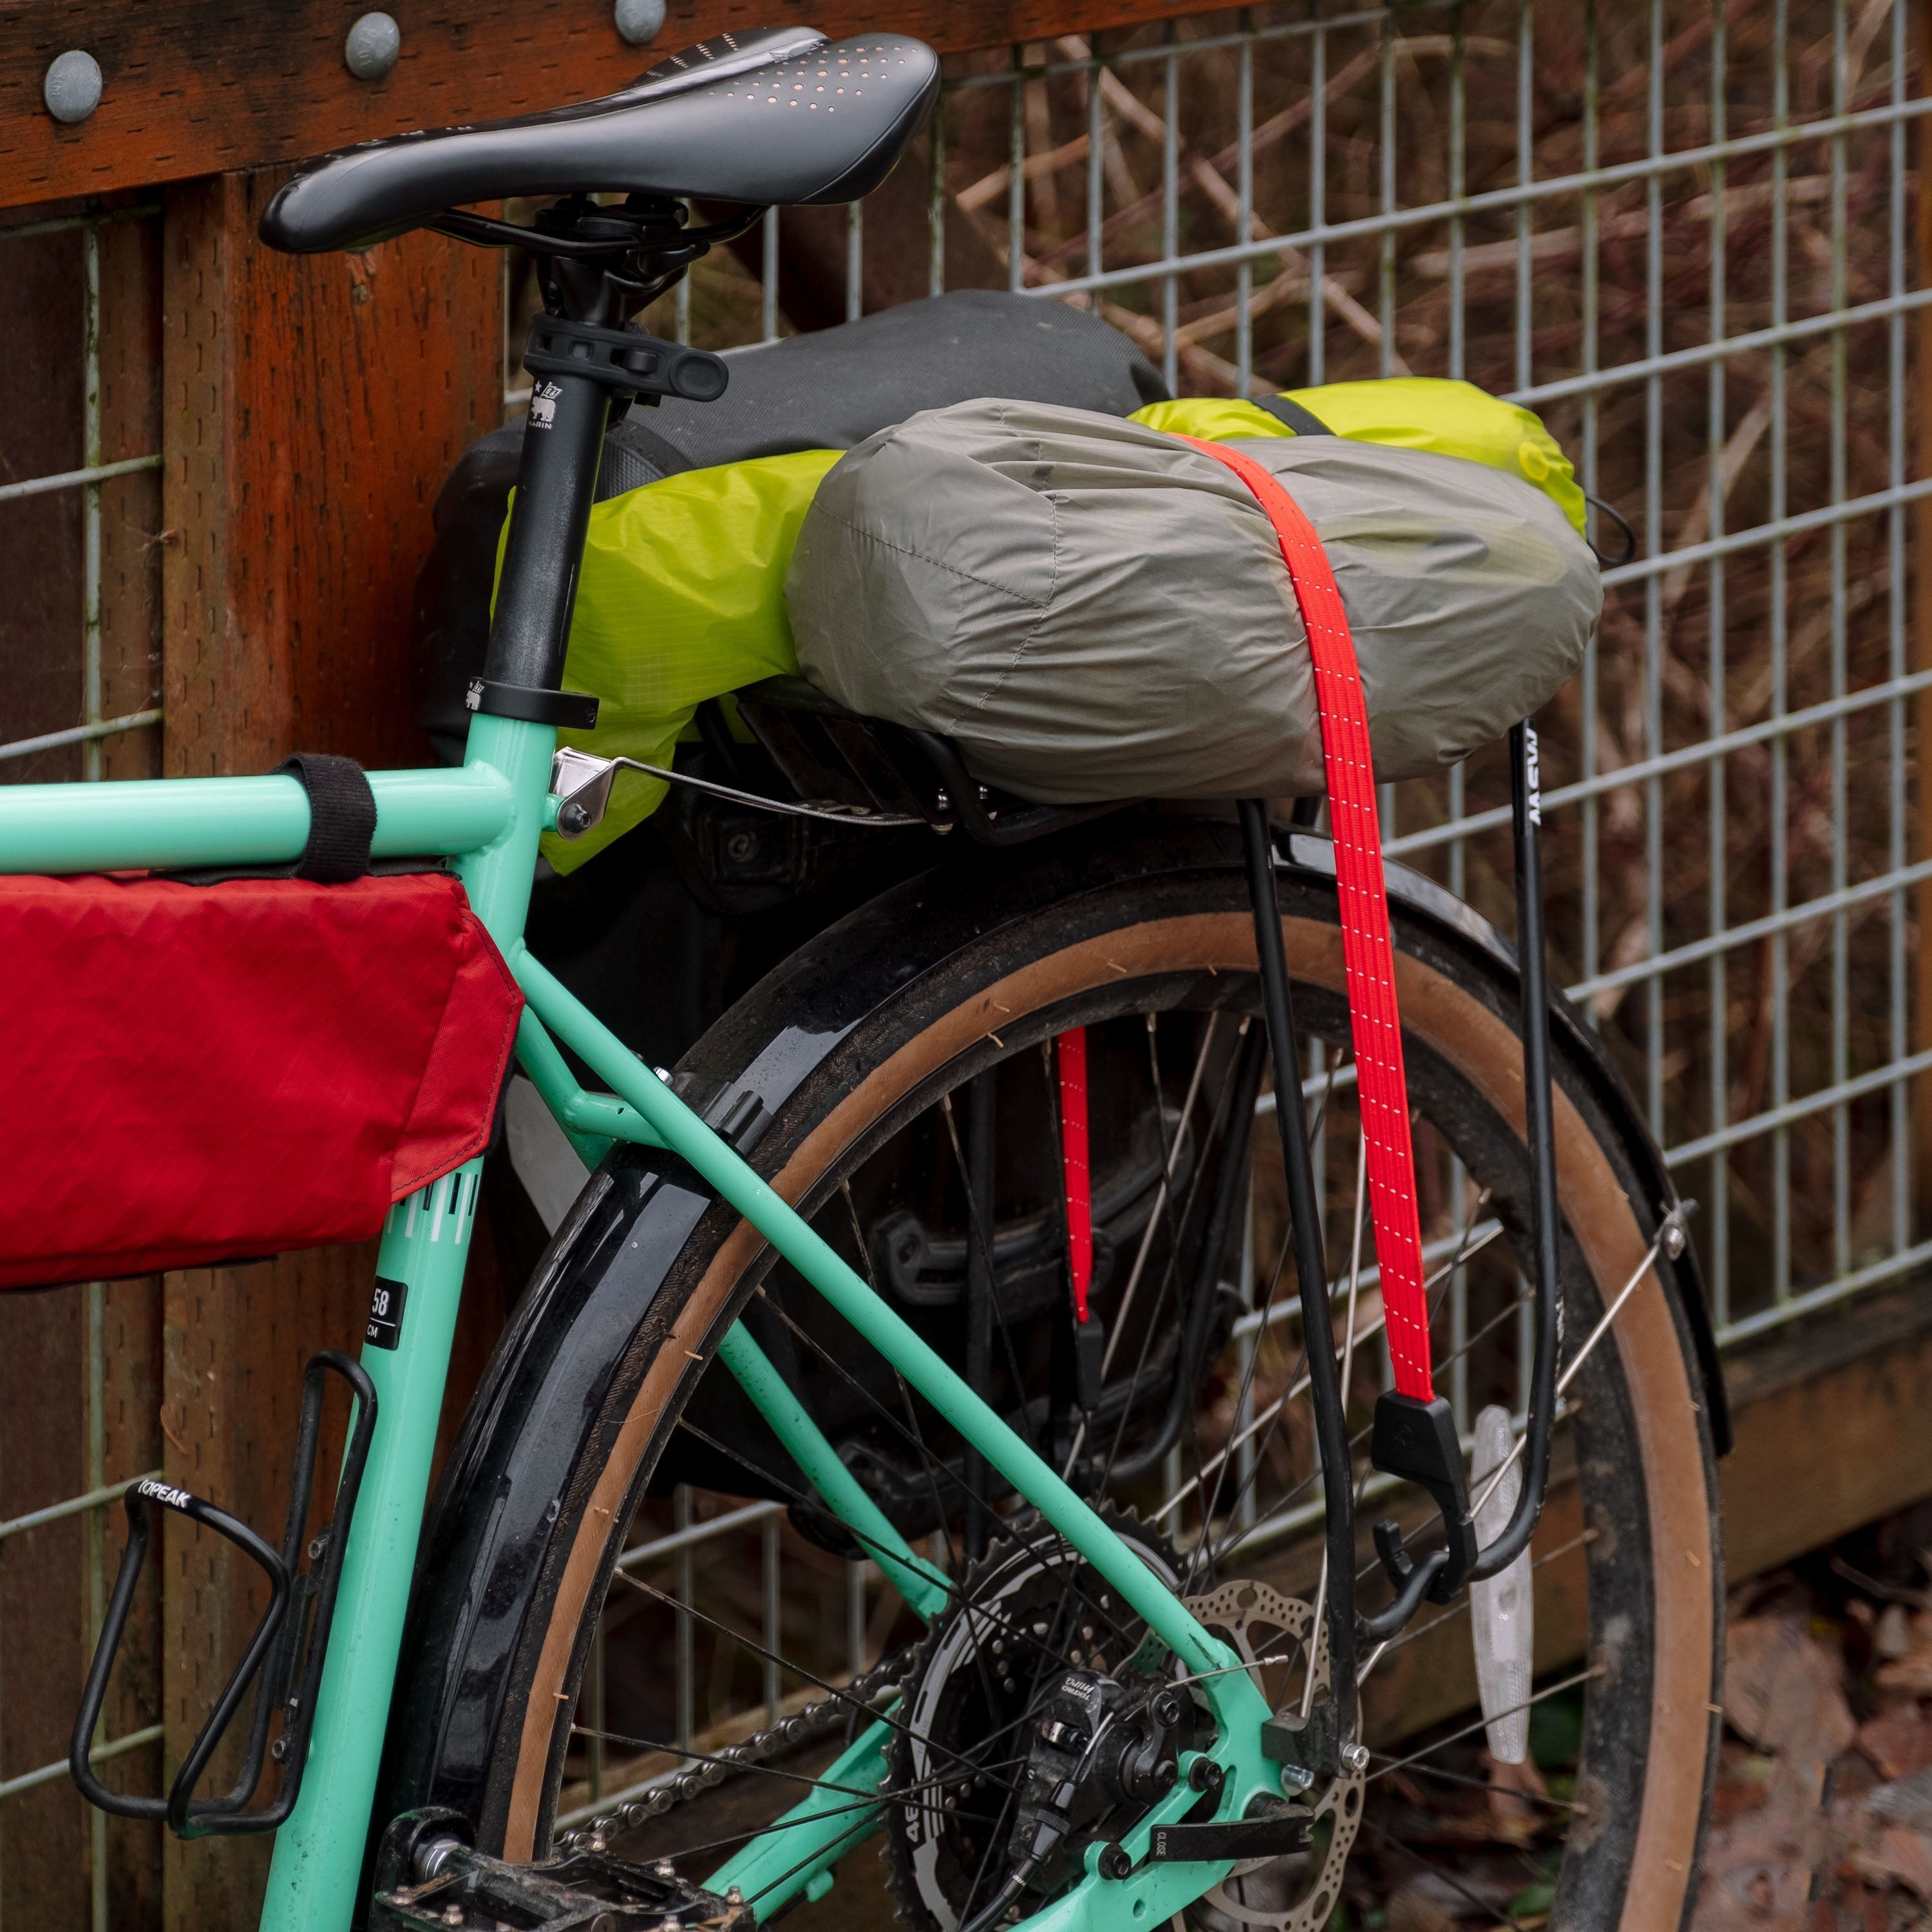
Every Trip Carry: Essential Bundles for Every Adventure
Imagine you’re gearing up for a day outside. Just like you wouldn’t leave home without your wallet and keys (your Every Day Carry or EDC), you can't just grab any old gear for the outdoors. You nee...

Bringing Effective Altruism into the Outdoors to Enhance the Places Where We Work and Play
Your love for the outdoors can make a meaningful difference in the world. Effective altruism is a philosophy that encourages us to use our resources, whether it's time, money, or skills, in the mos...

Gear Up for Snowshoeing: Essential Winter Hiking Kit
Winter brings a special beauty to the outdoors. Everything looks different when it's covered in snow, from the trees dressed in white to the quiet, frozen lakes. Knowing how to plan and pack for sn...

7 Tips for A Successful Winter Van Life
From upgrading tires to staying entertained, here are seven tips for a successful winter van life.
8 Easy Ways to Curb Consumption and Reduce Your Carbon Footprint
From reducing your use of plastic to repairing your stuff, here are eight easy ways to curb consumption and reduce your carbon footprint.
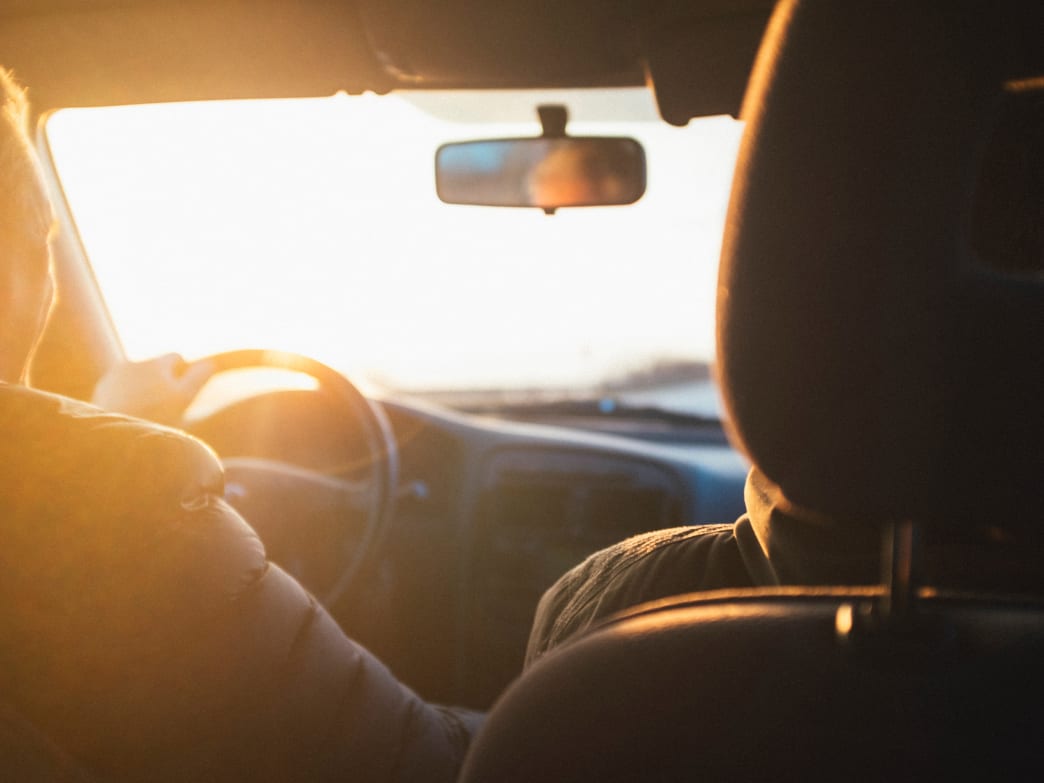
12 Essentials You Need for a Successful Road Trip
From travel mugs to maps, here are 12 essentials you need for a successful road trip.
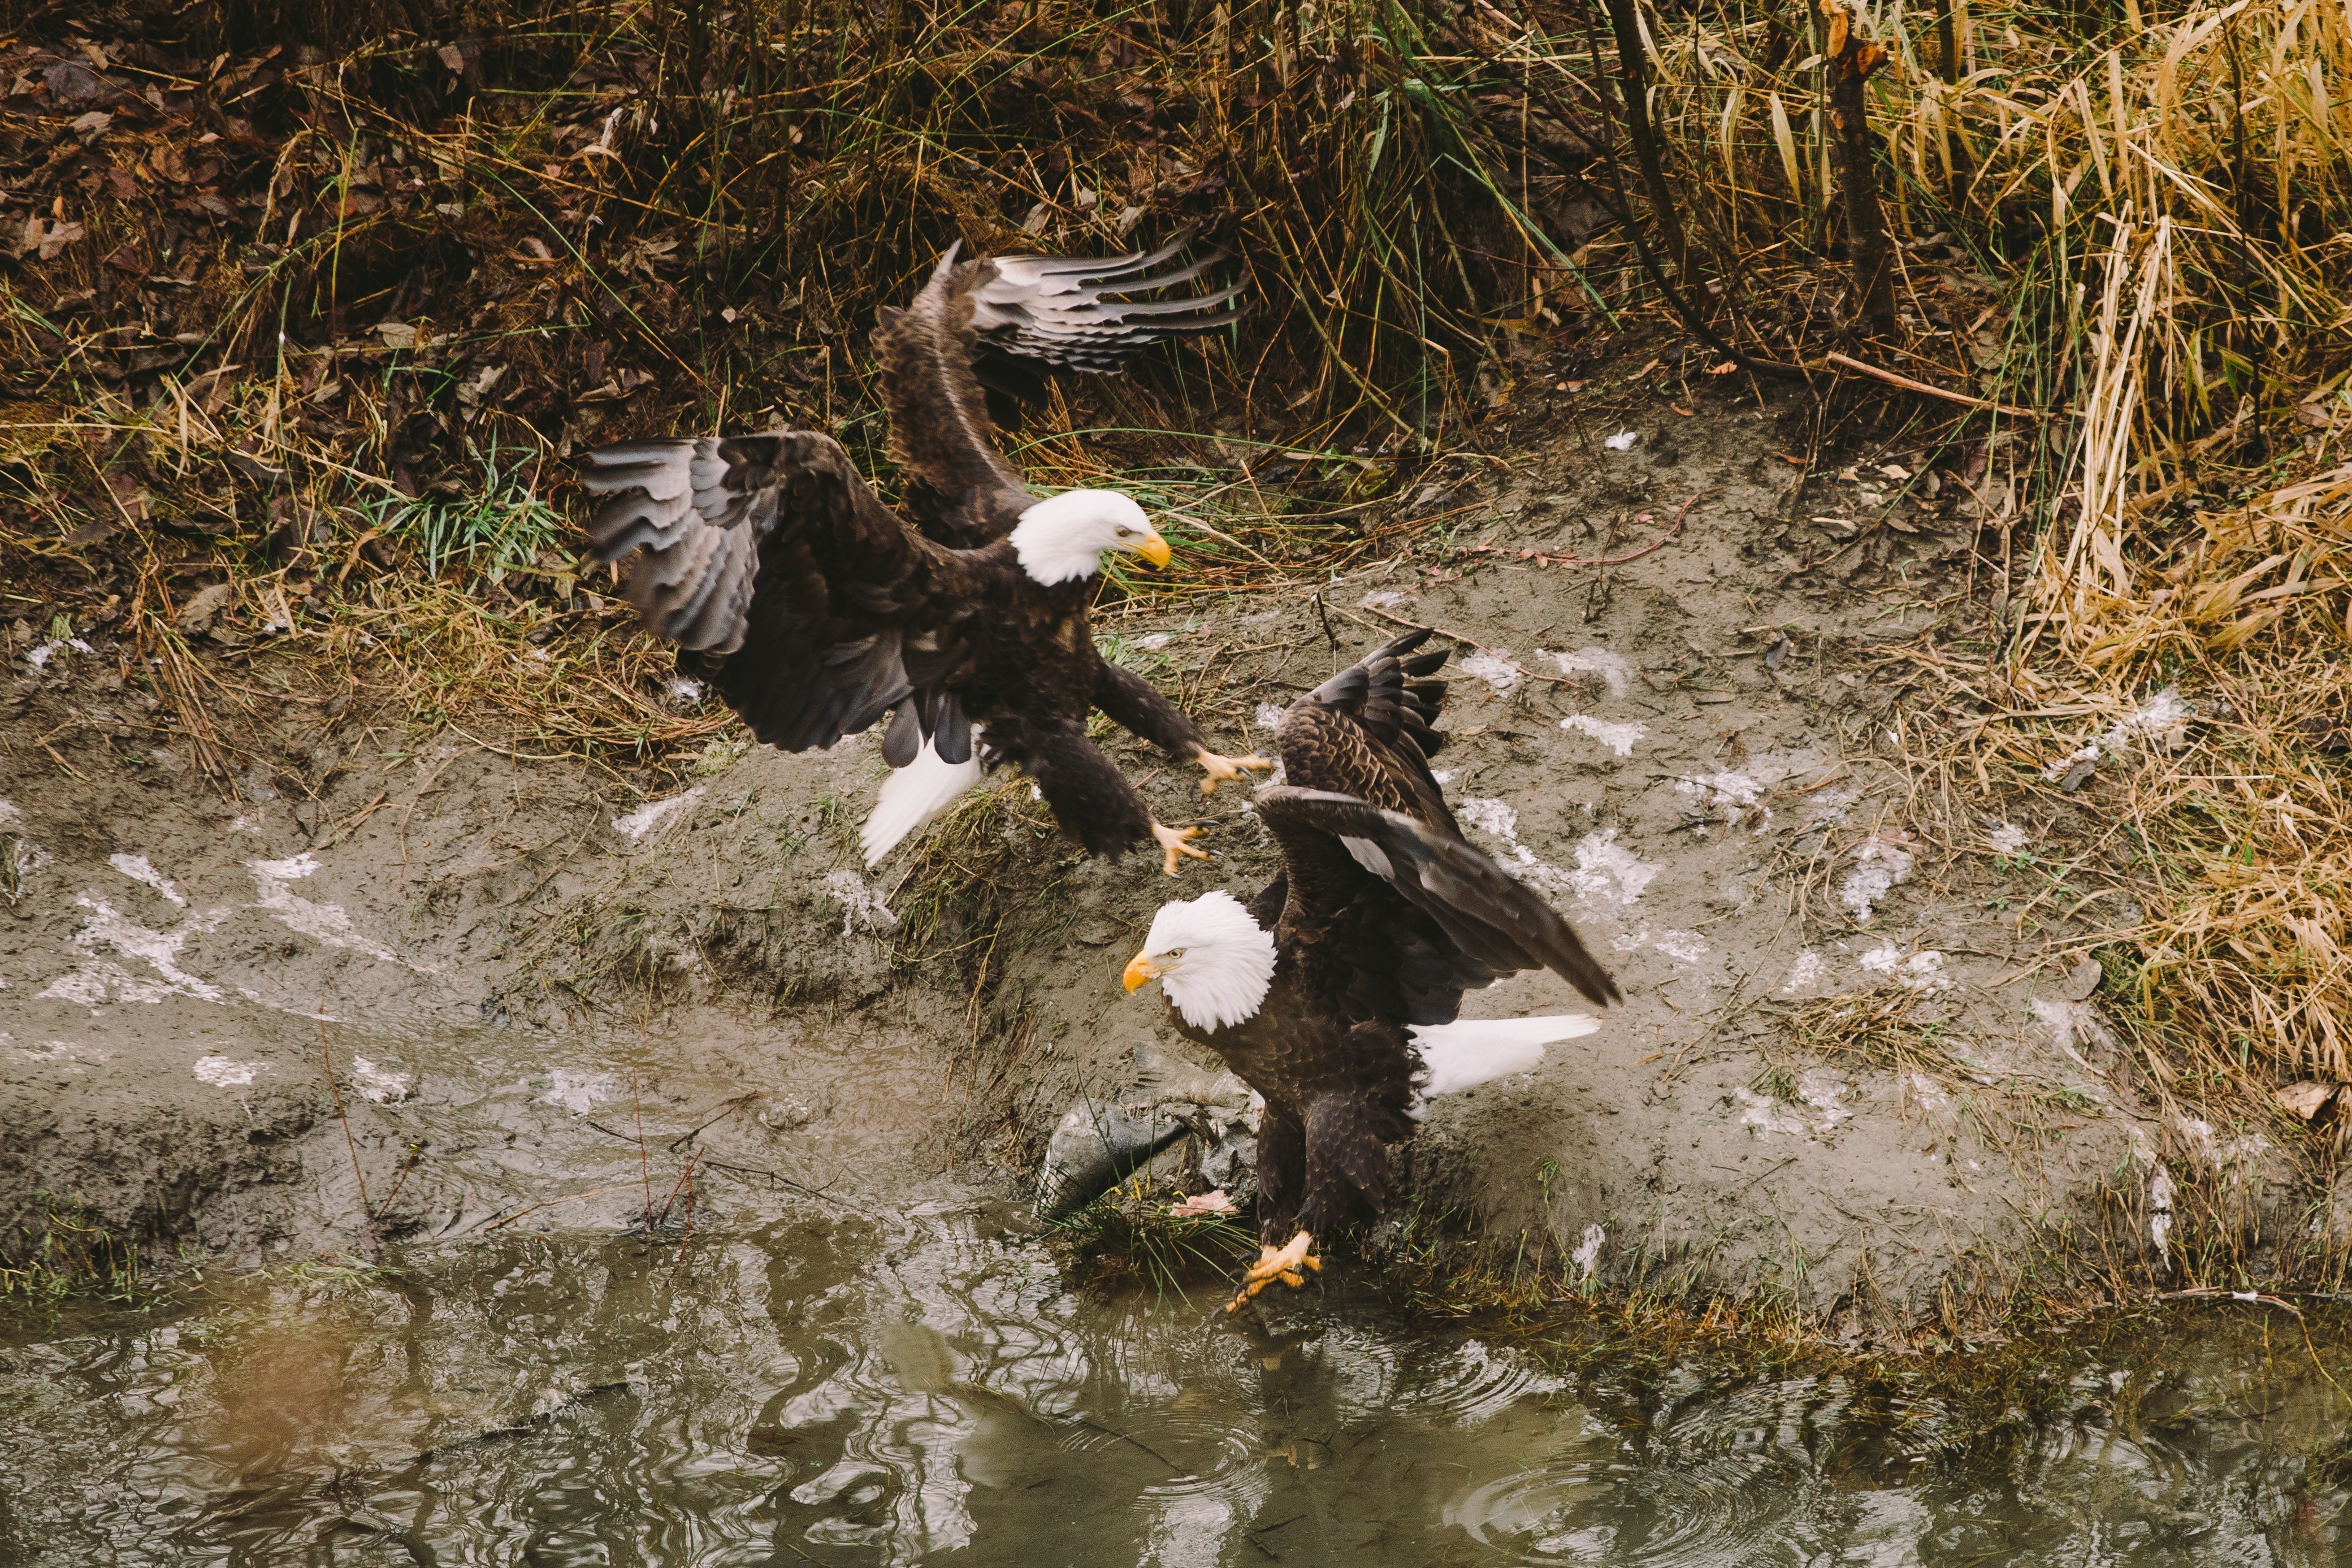
Winter Eagle Watching in Washington
Each winter, here in Washington, we have an opportunity to see hundreds of eagles perched in the trees above our rivers. Learn how you can view these majestic animals.
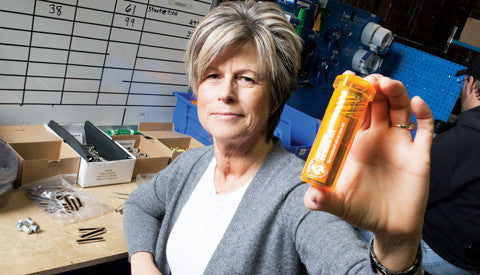
GEAR AID Named Innovator of the Year by Seattle Business Magazine
GEAR AID has been awarded Innovator of the Year in the 2017 Washington Manufacturing Awards by Seattle Business Magazine.
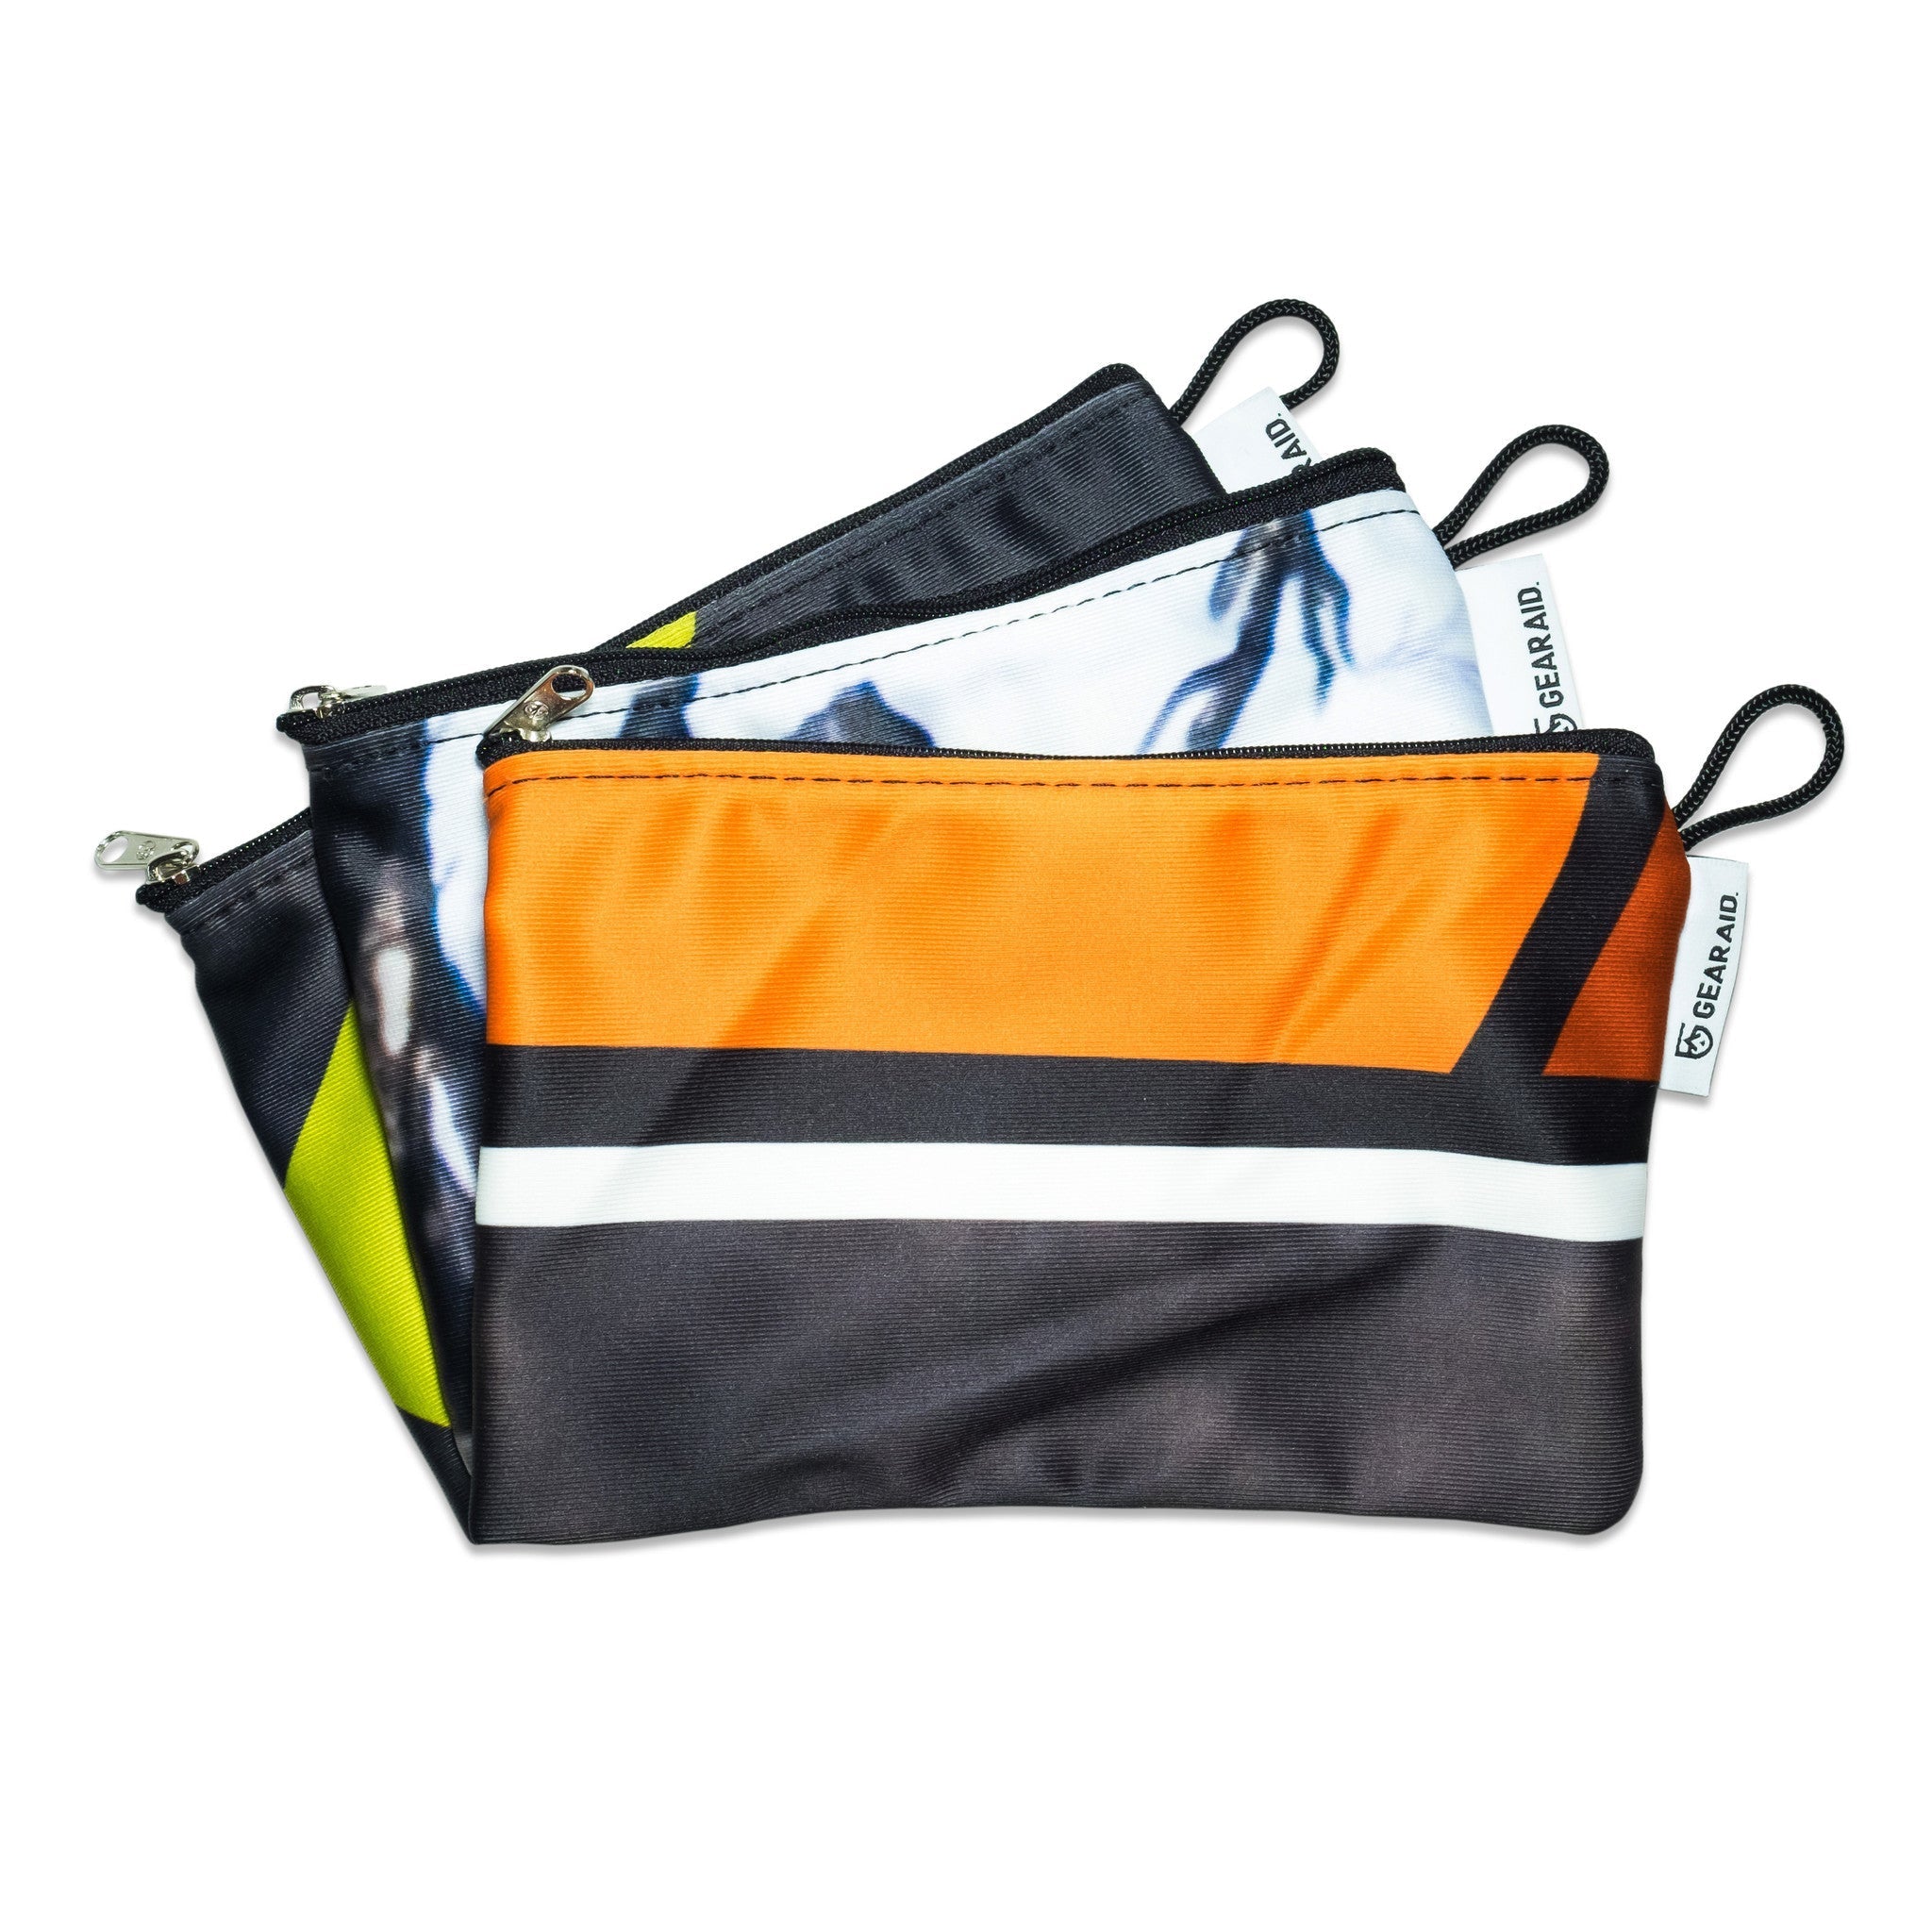
Transforming Old Signage into Upcycled Bags
We repurposed or "upcycled" our outdated, polyester banners and made them into funky, small pouches called Banner Bags.
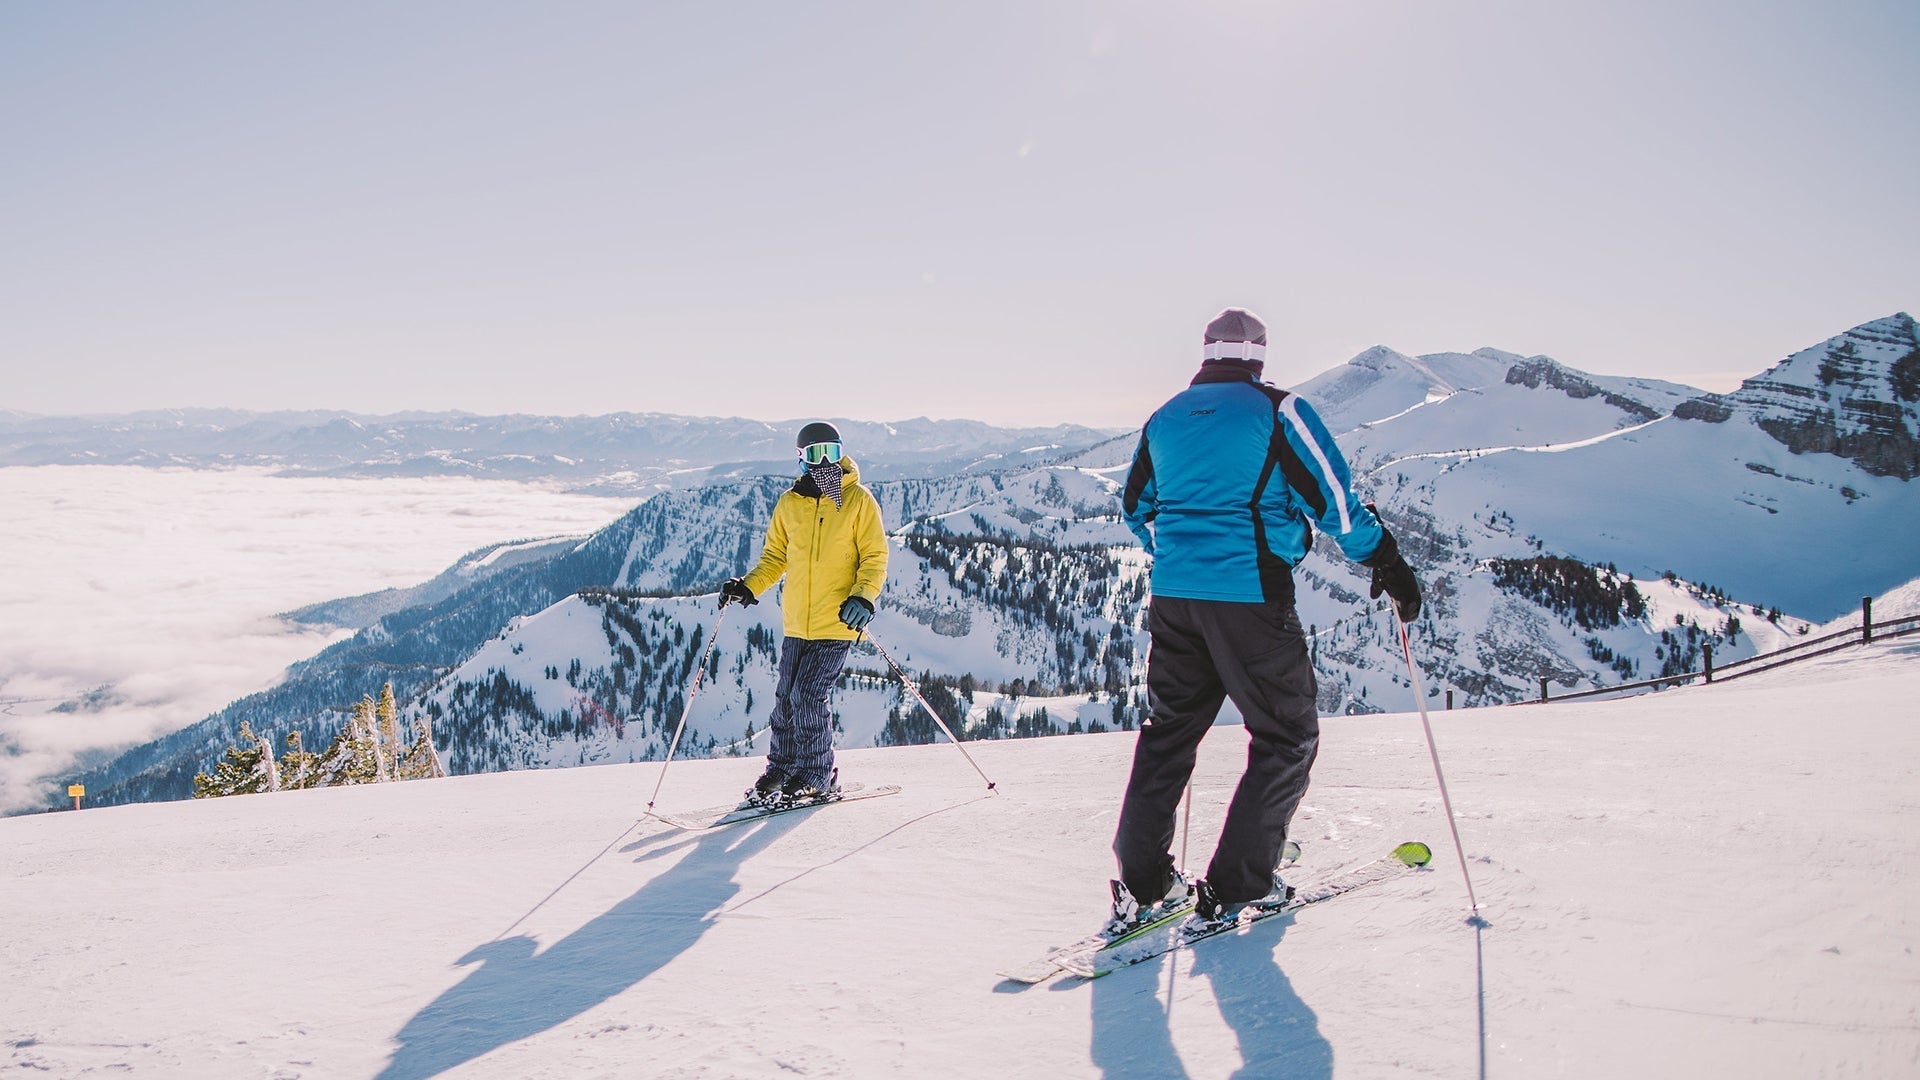
10 Savings Tips During Ski Season
The snow is piling up in the mountain, and you’re feeling the itch to get out and play in it. For outdoor aficionados, skiing is one of the best ways to enjoy winter. It can also be a darn expensi...