

This story comes from our Spring/Summer 2025 Ambassador, Molly M.
Our first packrafting trip was supposed to be straightforward: hike a half mile down a steep gulch, the map even said it was a trail, then put in to Lake Powell and float 6 miles into the Escalante Arm to explore the beauty of a re-emerging Glen Canyon for two days.
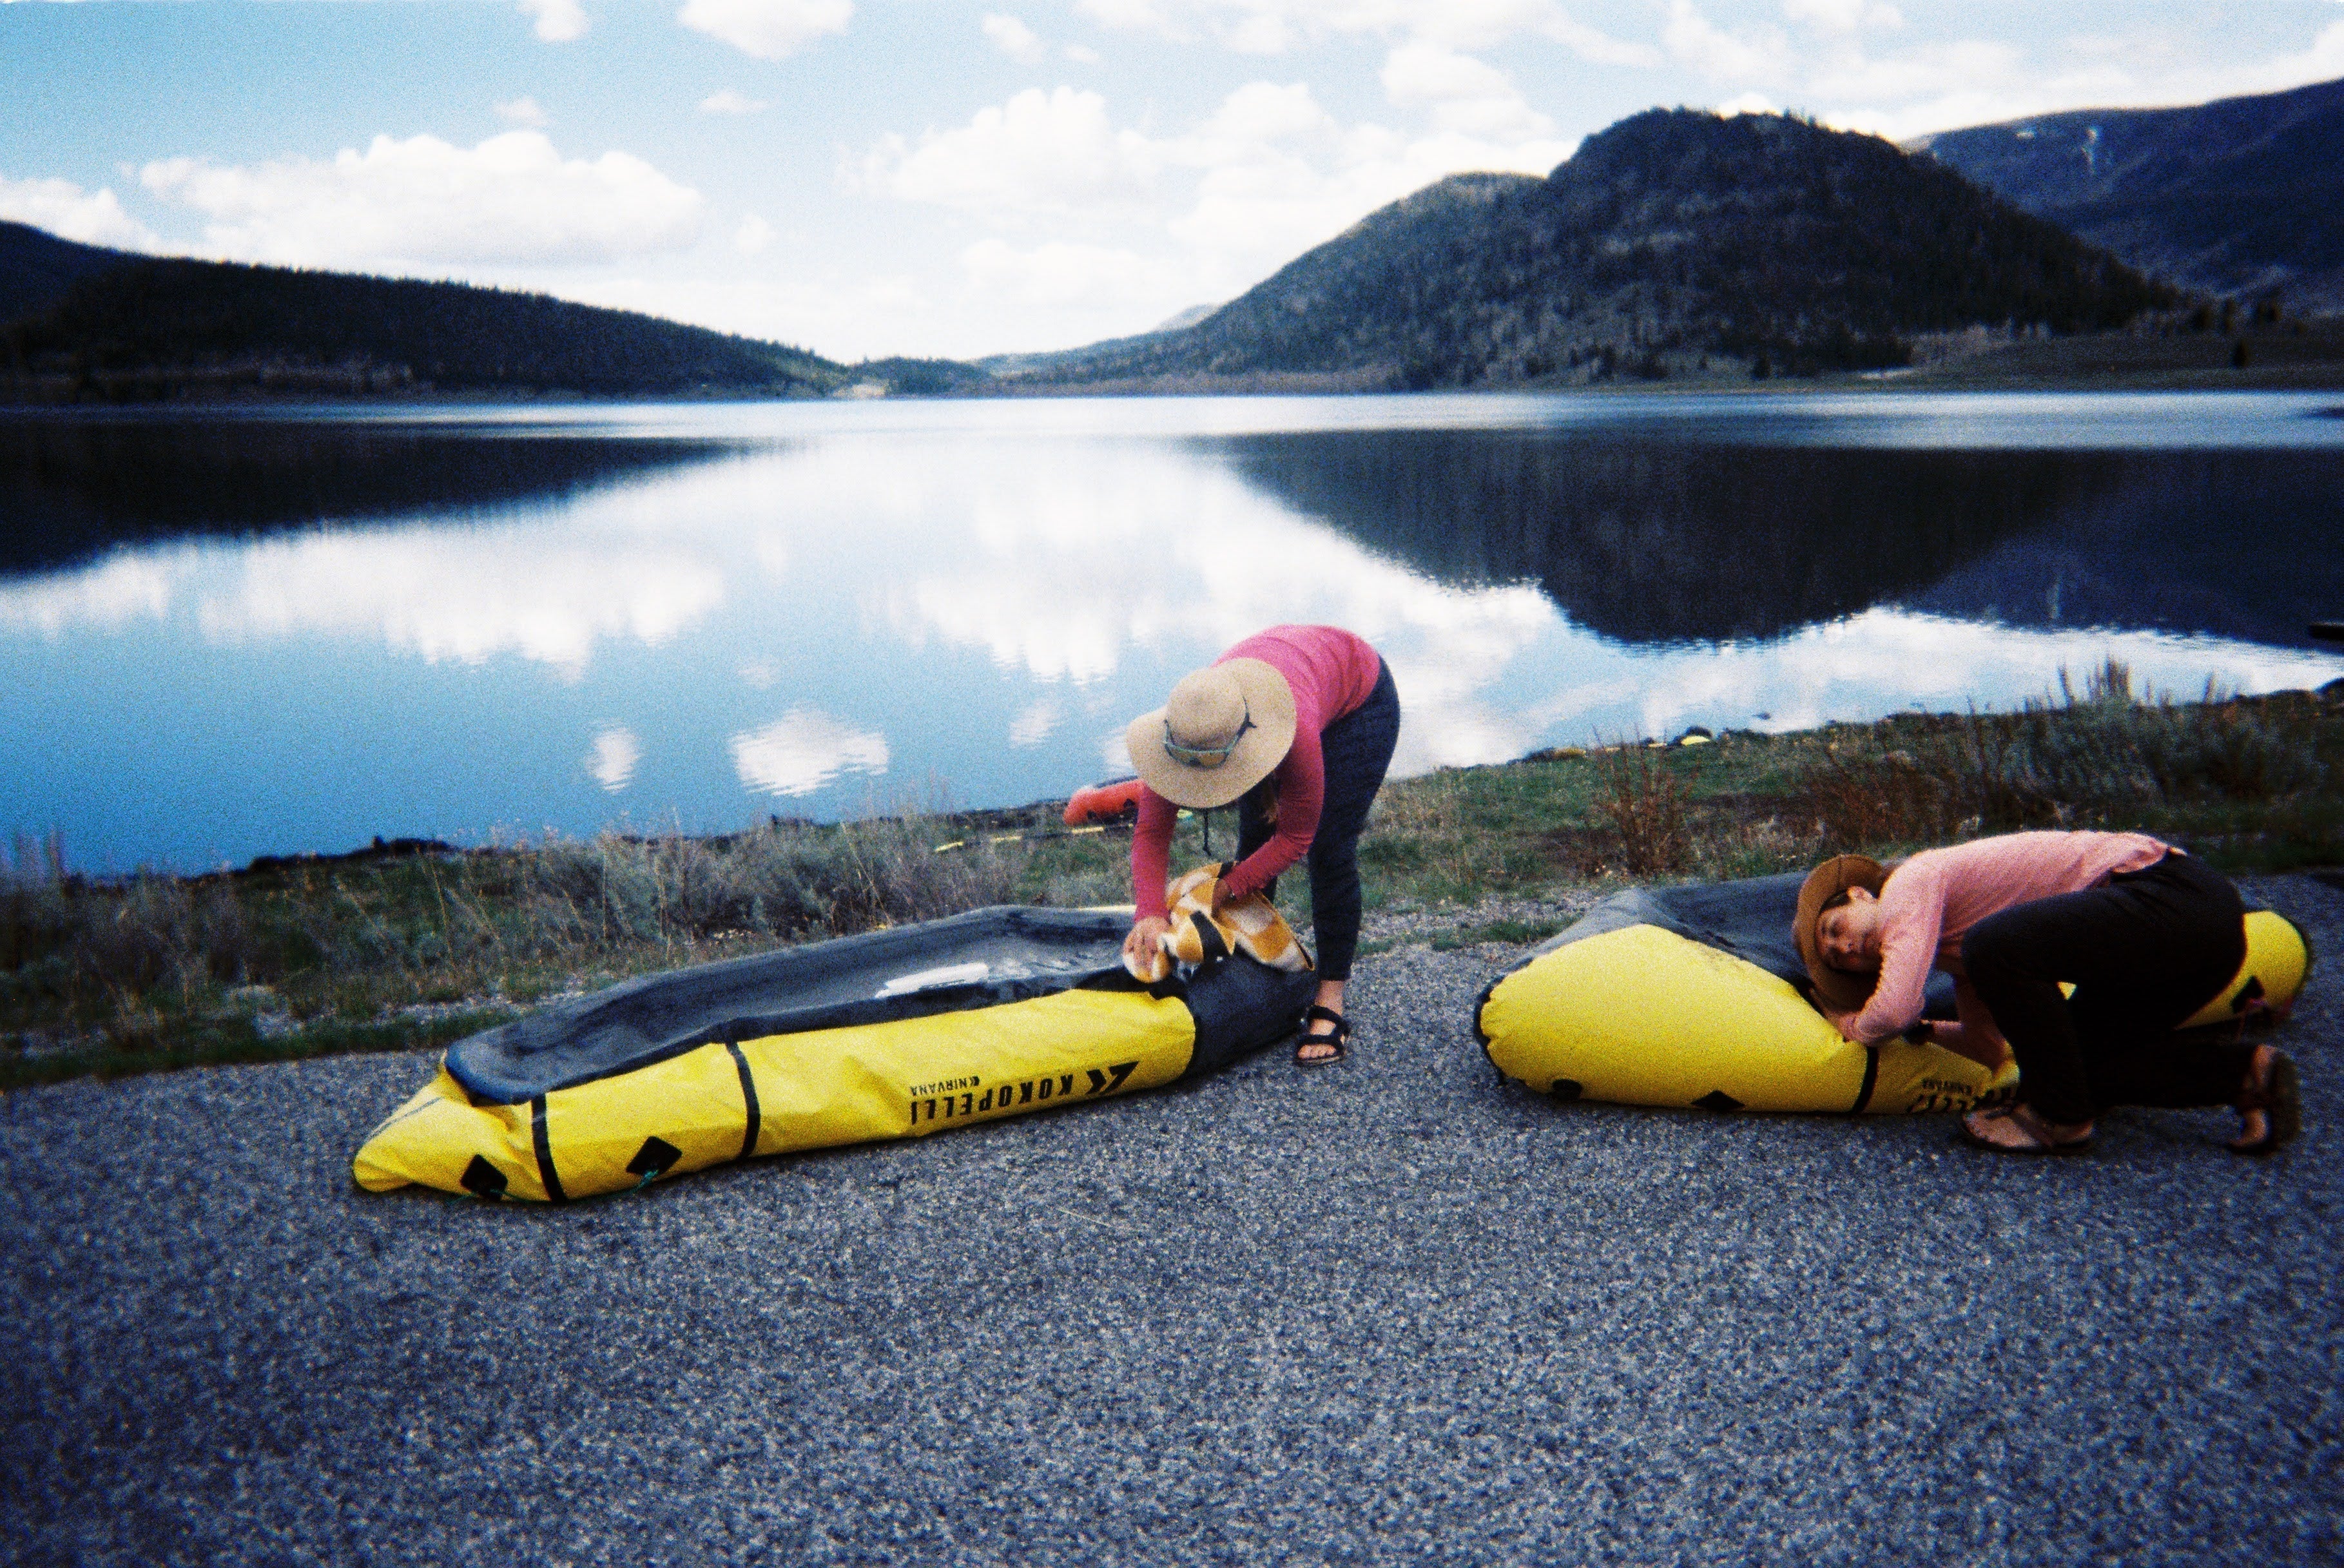
Instead, we discovered that the ‘trail’ down into Lake Powell was mostly boulder hopping and downclimbing for half a mile. After a 2-hour drive down a bumpy dirt road to the trailhead, we burdened our shoulders and knees with 60lb packs and began our descent. Two hours of butt scooching, cursing, crawling, and scrapping our way down the sandstone ravine, we made it to the calm, eerily blue water of Lake Powell.

It was finally time to load up our packrafts and launch into the water, but as I was inspecting my boat, horror struck, I found 3 holes in my boat. My friends also found two small pinholes in their packrafts. Our trek through rough sandstone was too hard on our boats. We had prayed for a hole-free outing during our first packrafting trip, as none of us were prepared for multiple, complex field repairs in a sandy, windy place. While we attempted to patch our boats, we were out of depth and ability.
After hours of attempting repair and using a whole tube of glue, we knew our float was over before it began. We drank most of the beer we packed to drown our sorrows and lighten our load for the trek back up the gulch. We packed our bags to protect our boats and hauled our bruised egos and selves back up the way we came. While this trip had turned into an epic, it was a hard lesson for what needs to be in a repair kit when out packrafting.

—
Whether it’s floating down a desert river on a multiday packrafting trip or a quick float after work on the local river, I always carry the same repair essentials in my packrafting kit. This is not a comprehensive list of everything you need to repair holes and tears in your packraft, but rather the bare bones of what should be with you for every float.
Packrafts are lightweight and versatile, but they are not as durable as a large raft, and holes happen. A bad repair kit can ruin a trip. You do not want to be deep in the backcountry, ready to put in, only to find holes in your boat without good gear to patch them- I know this from experience (see my trip report above). Nearly every brand that sells packrafts includes a basic repair kit, which provides a good starting point, but here are a few things to add to make sure you are not stranded with a leaky boat.

My go-to is Aquaseal. I keep two different types in my repair kit. Aquaseal UV Fast Curing Adhesive and Aquaseal FD and Cure Accelerator.
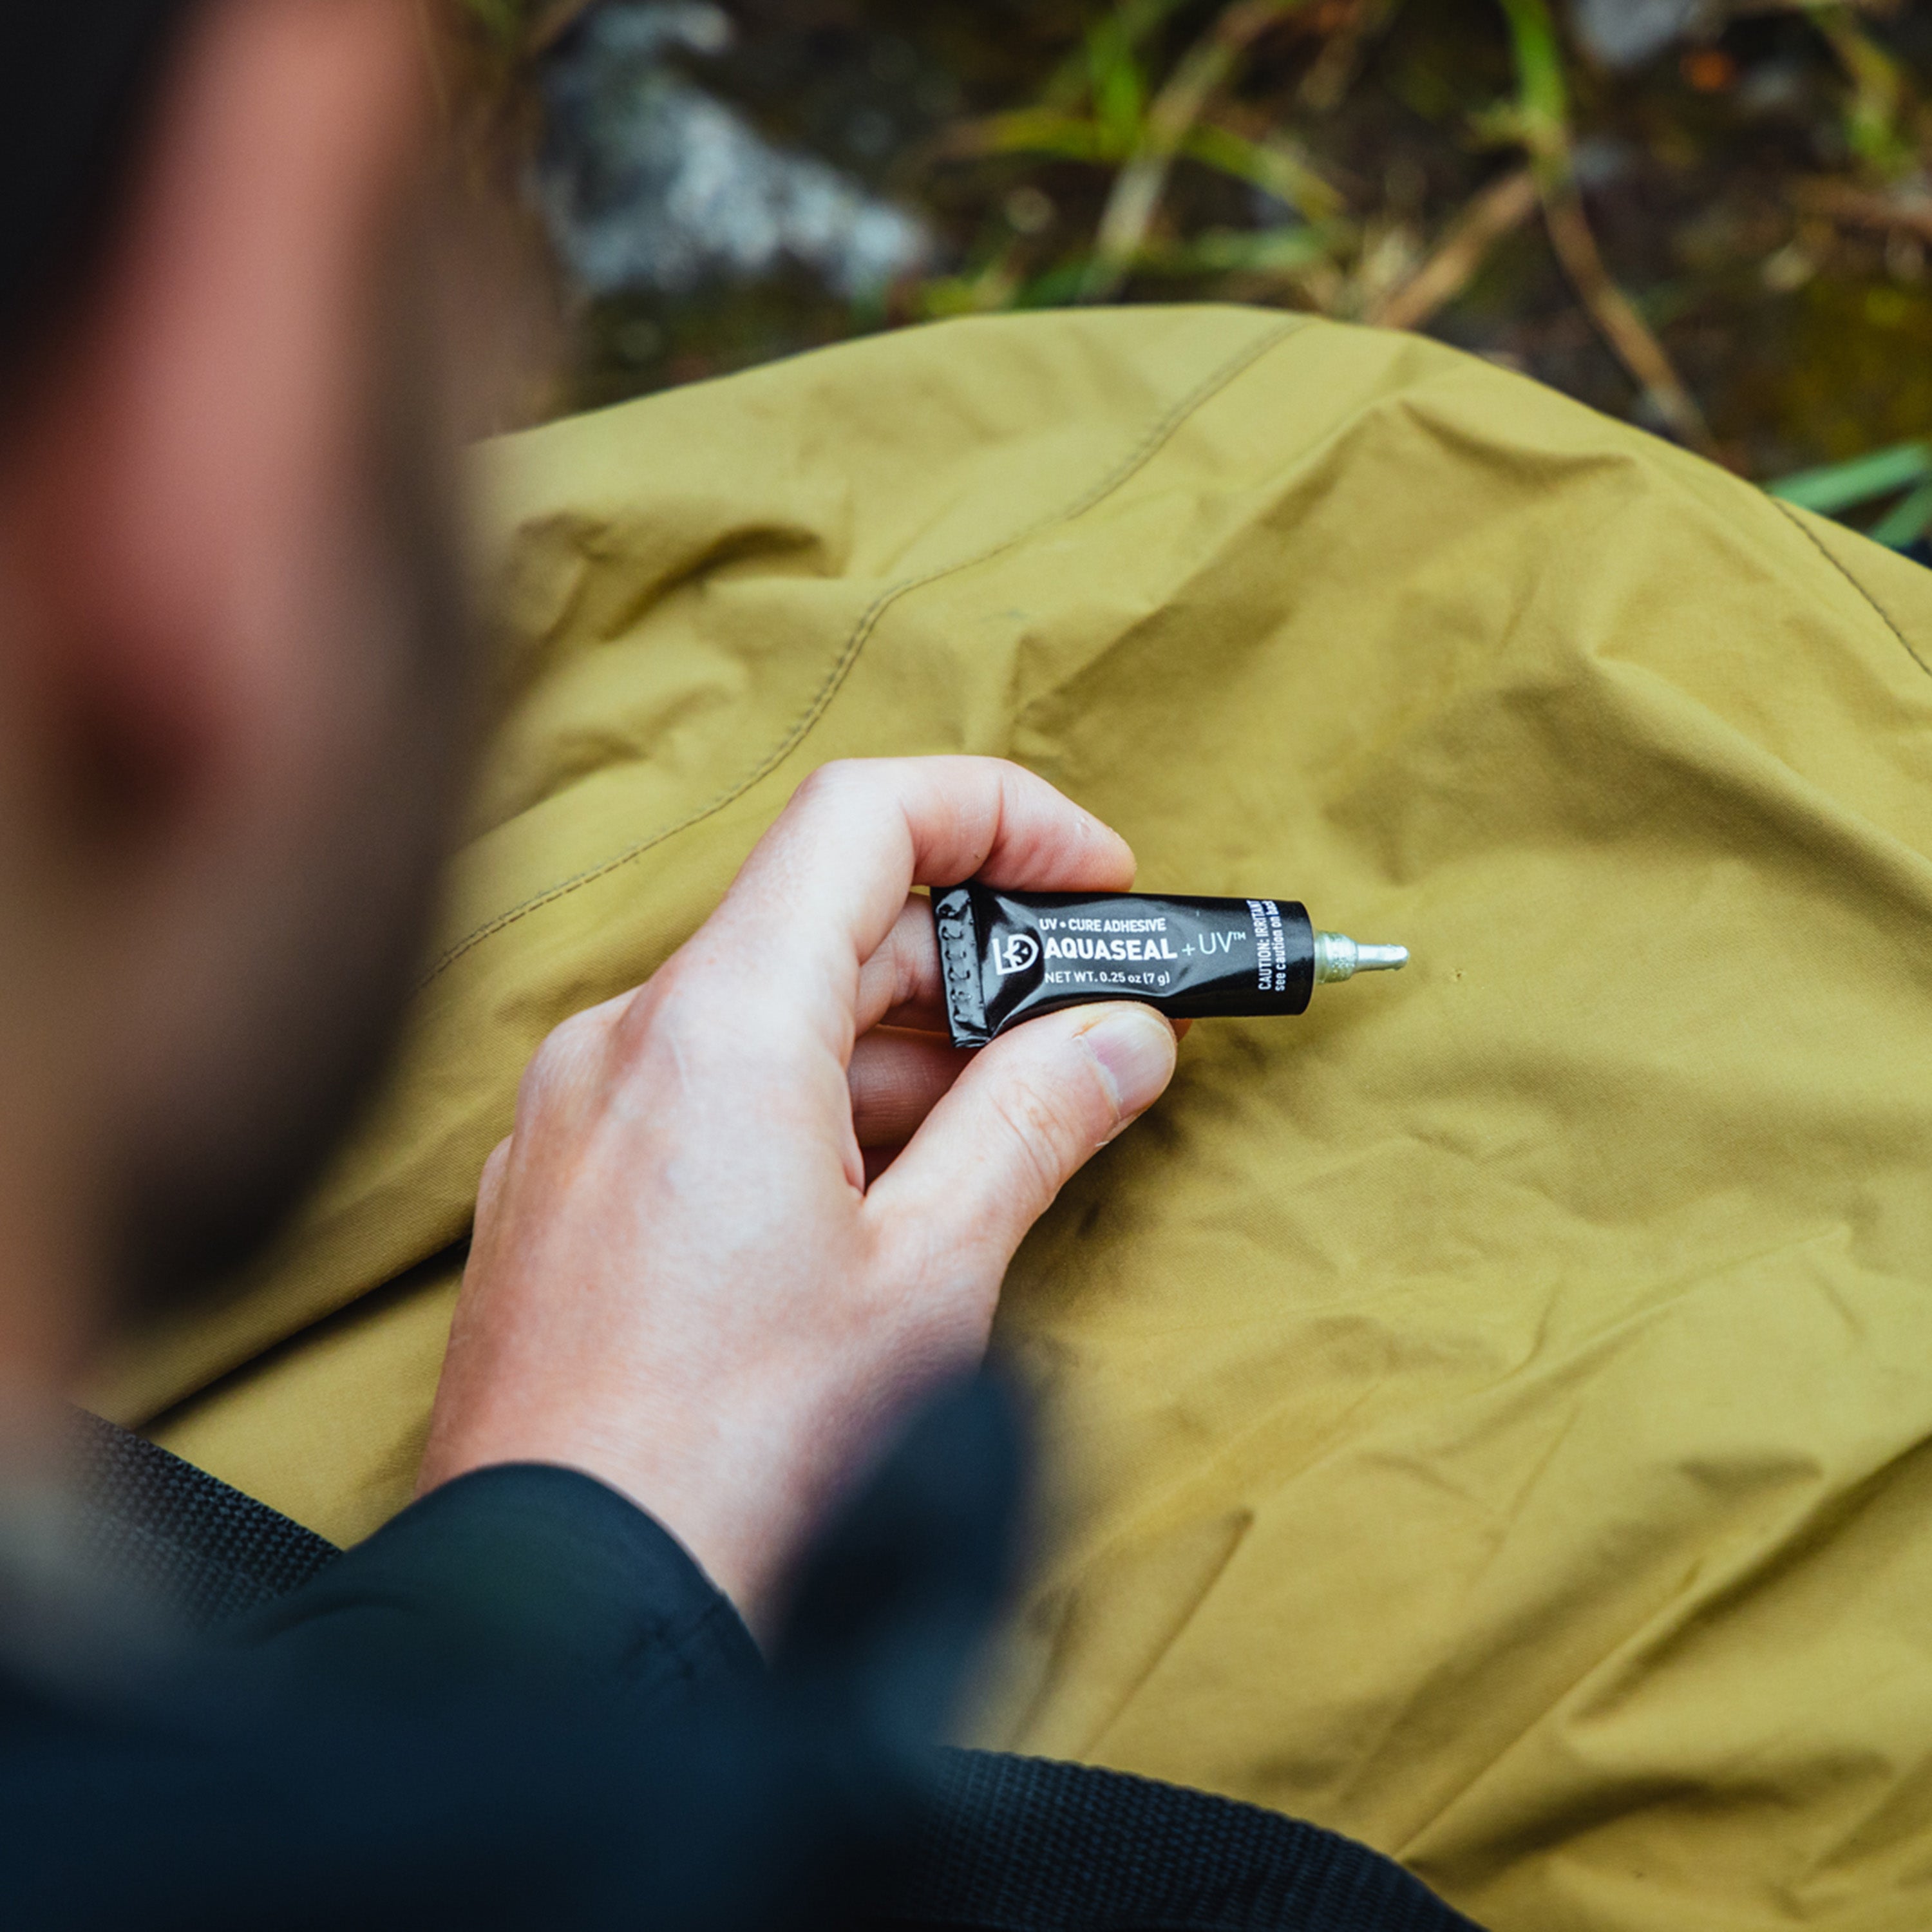
The Aquaseal UV is an ultrafast curing patch that is great for most small holes in a packraft. Since it cures in the presence of UV, as long as I have sunlight on my trip, I have a way to patch small holes on my boat. It cures within minutes and keeps me floating down the river. The only downside to the Aquaseal UV is that it should not be treated as a permanent patch job. It can easily last a whole trip or season, so it is great in a pinch, but you will need to add a more permanent patch down the road.
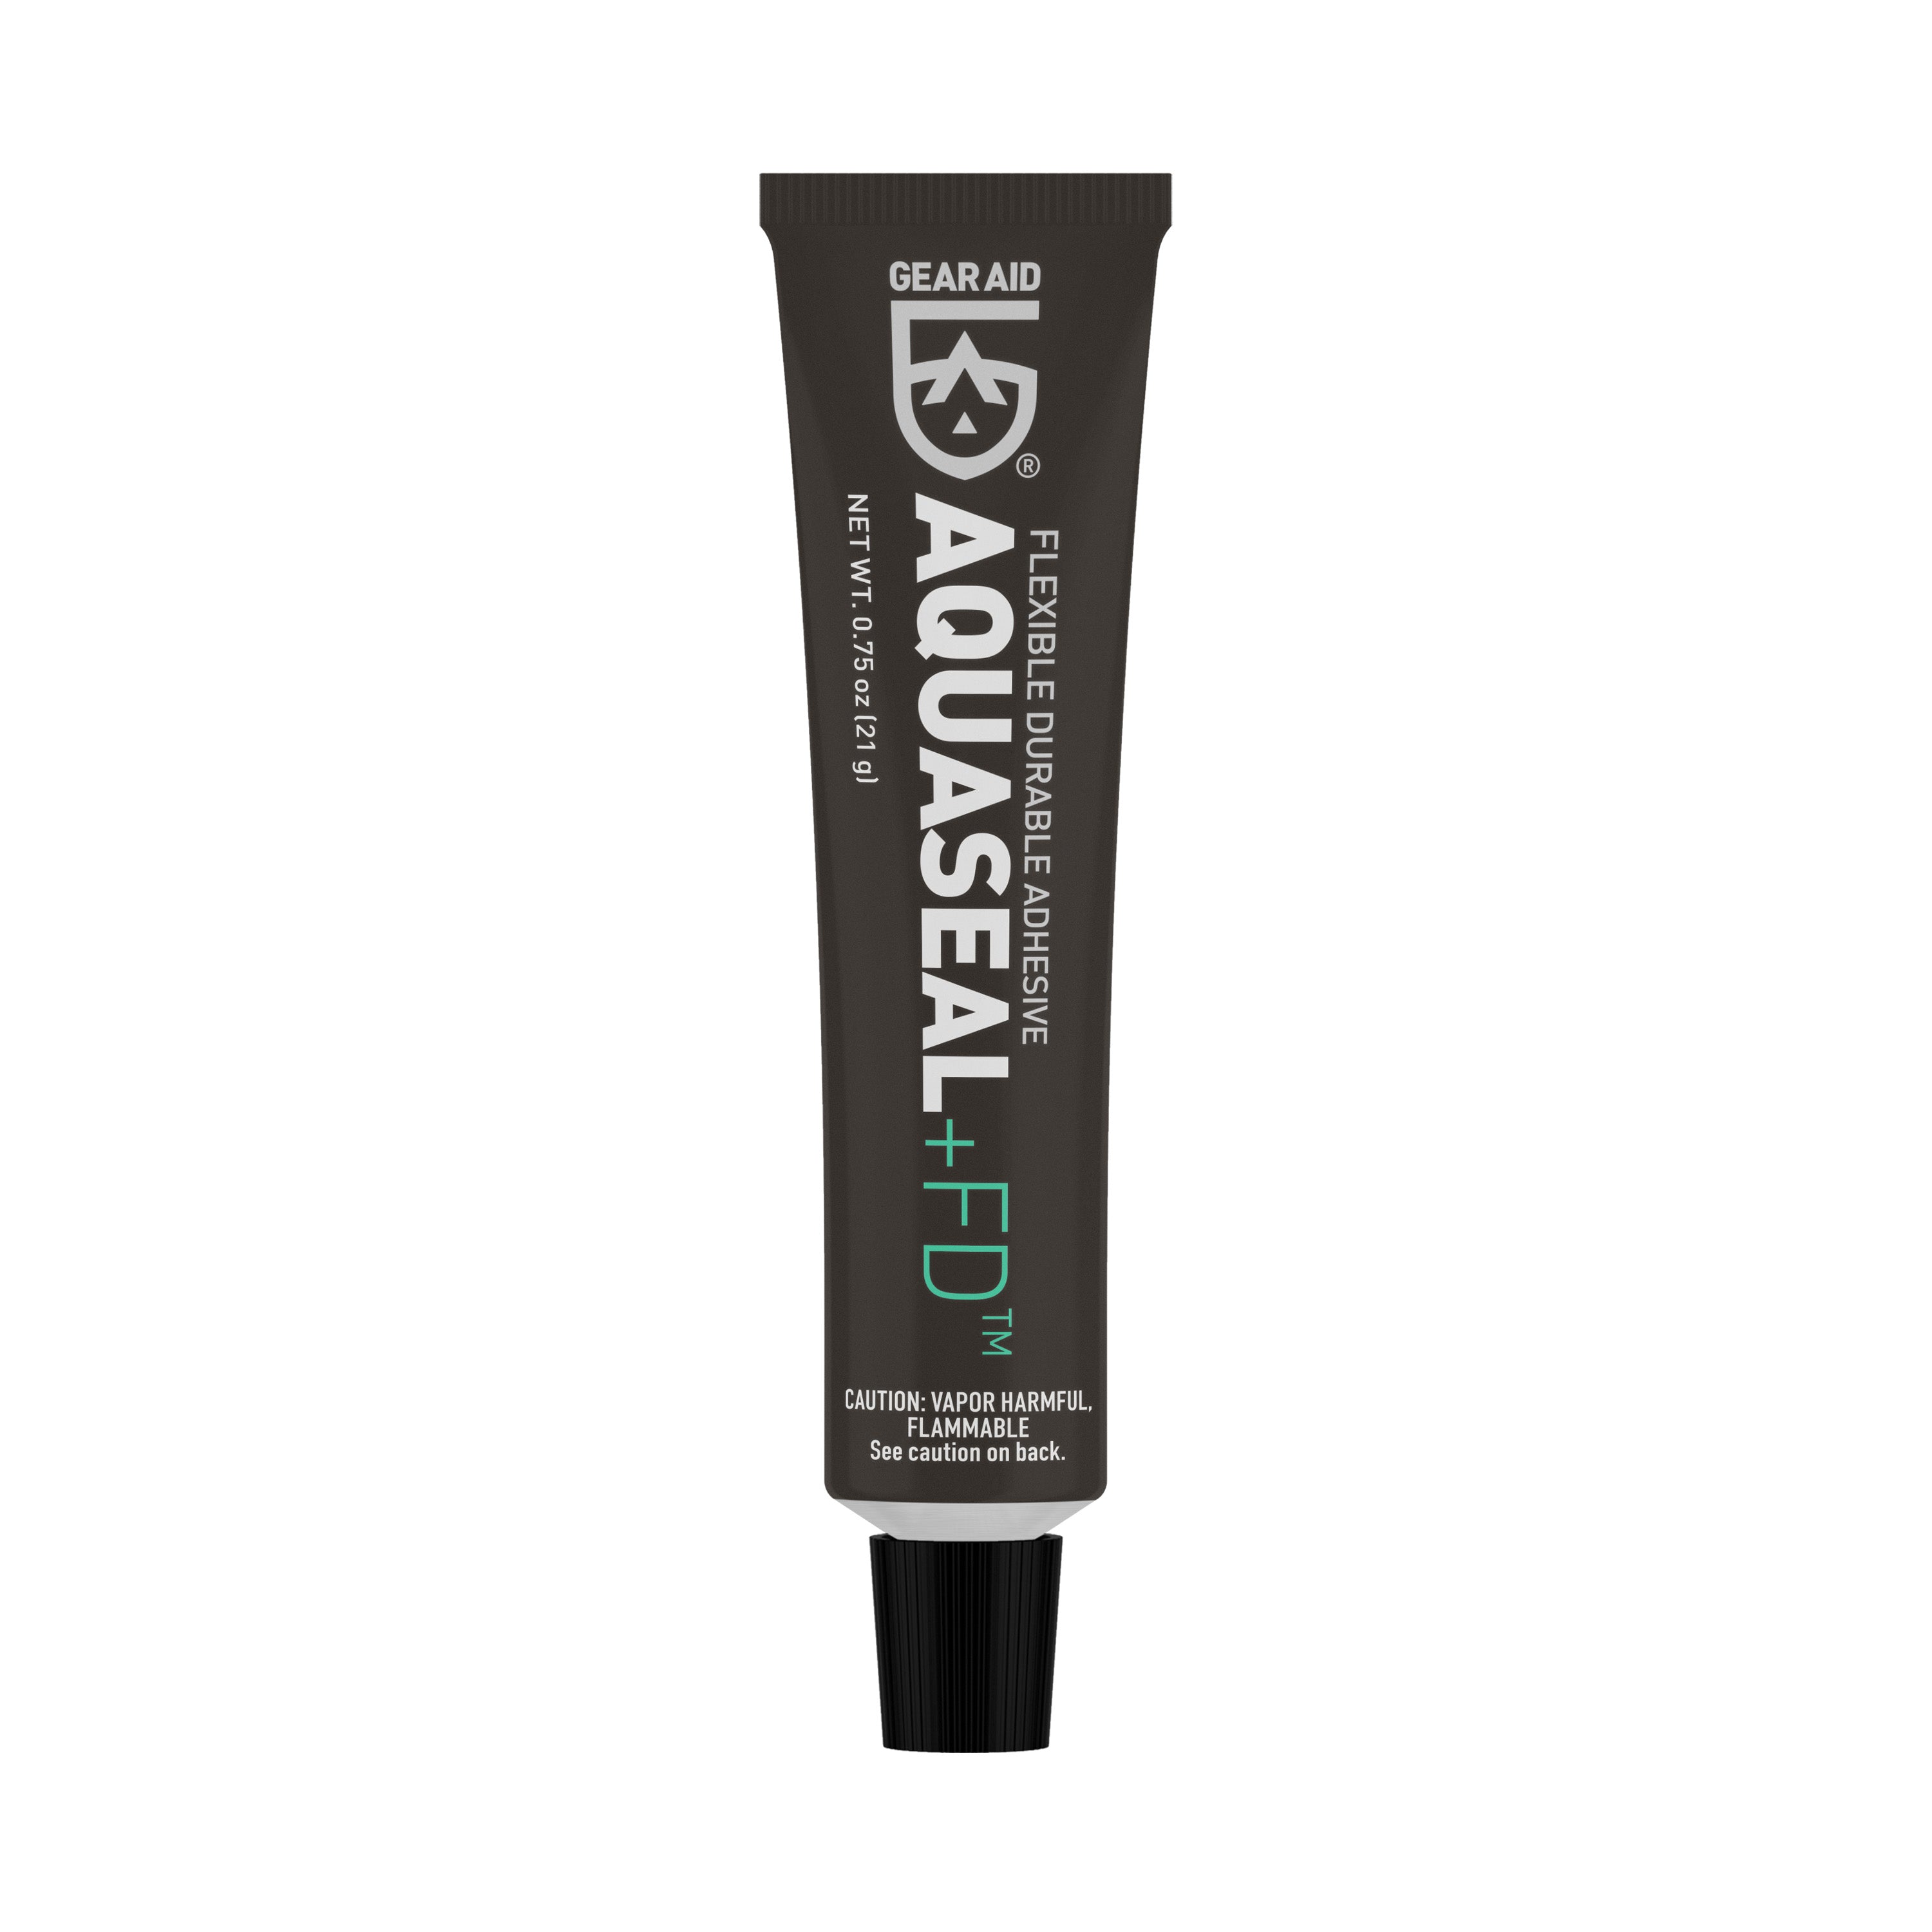
Sometimes holes are bigger and in weirder spots on my boat, and require a patch, or I just have the time to make a permanent repair on my trip; which is why I also carry Aquaseal FD with Cure Accelerator and a nylon patch. The cure accelerator cures the Aquaseal within two hours, making it a great option for a long lunch break on the river or when you are at camp for the evening. The last thing I always carry in my repair kit is extra alcohol swabs. These usually come standard in a brand repair kit, but it is usually only one or two packets. Since alcohol swab packs are so small and light, I always carry at least 8-15 on a trip. Cleaning the site around the hole is key to getting good adhesion with any repair method. I like to keep my options open and carry at least two different ways to patch a boat.

Of course, I need a safe place to store all of my repair essentials while I’m on the river. The easiest and driest solution is a dry bag. I keep my repair kit in a 1L dry bag along with other essentials: my phone, my camera, and maybe a beer.
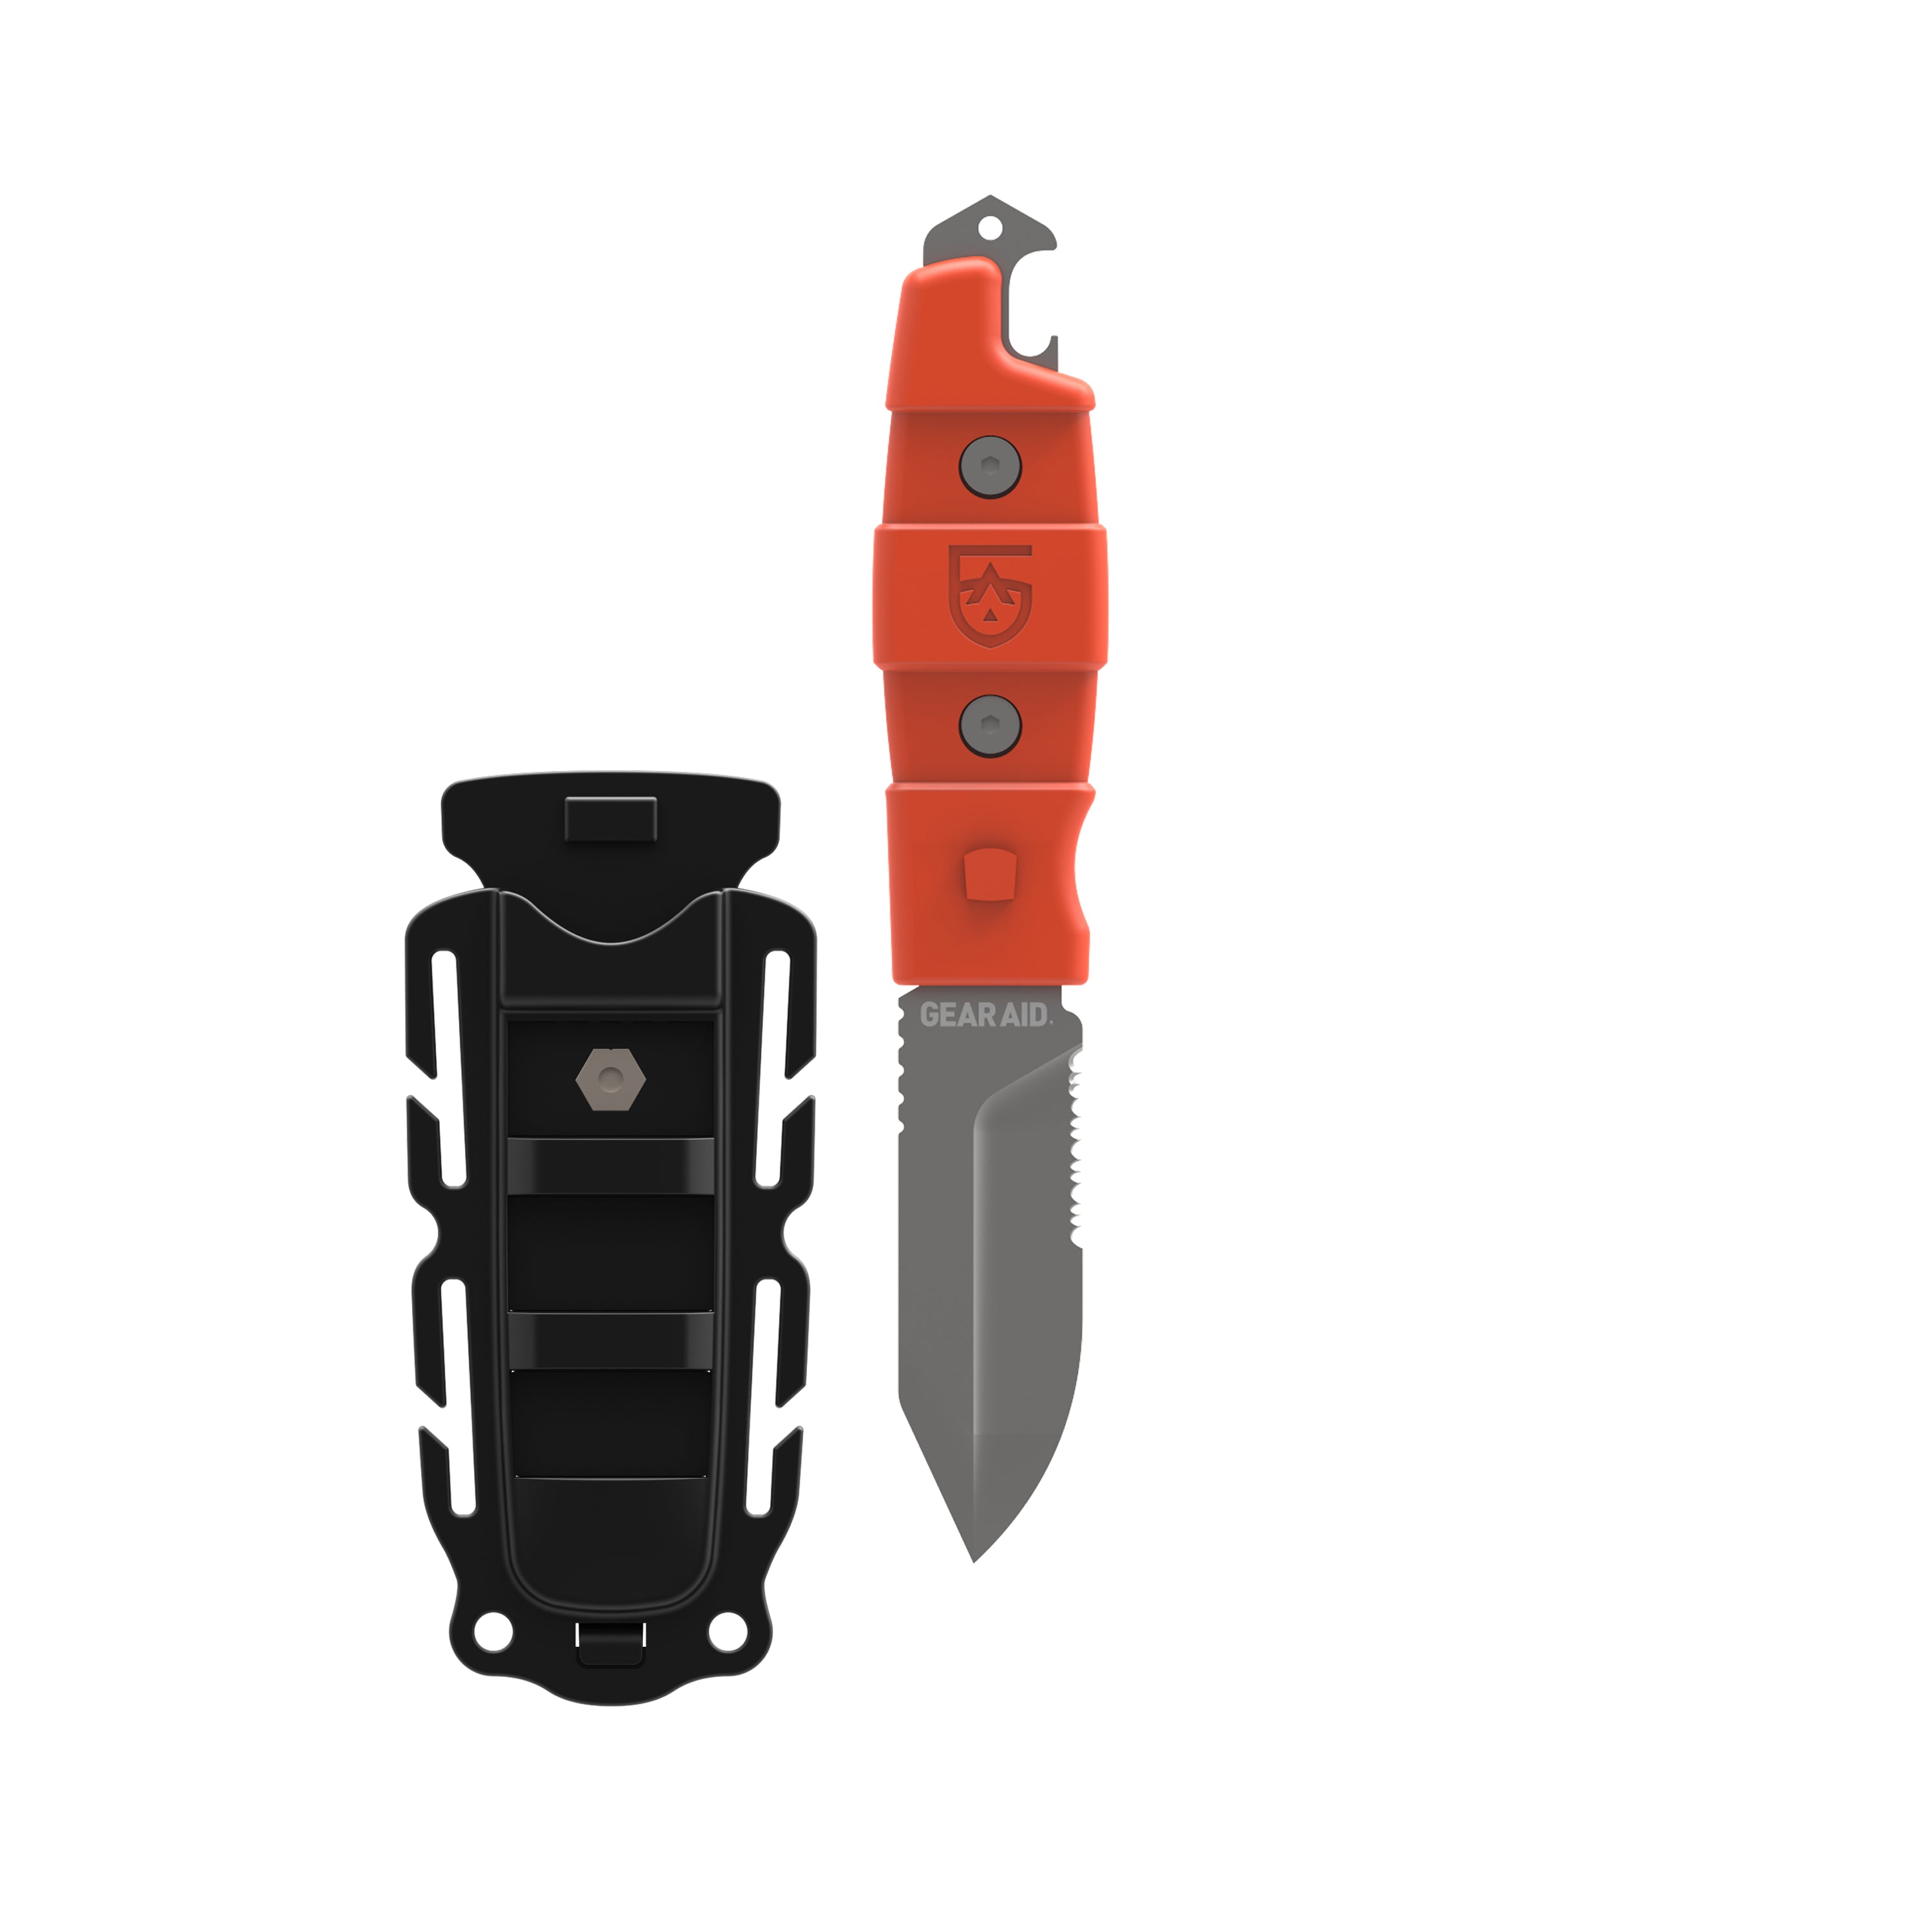
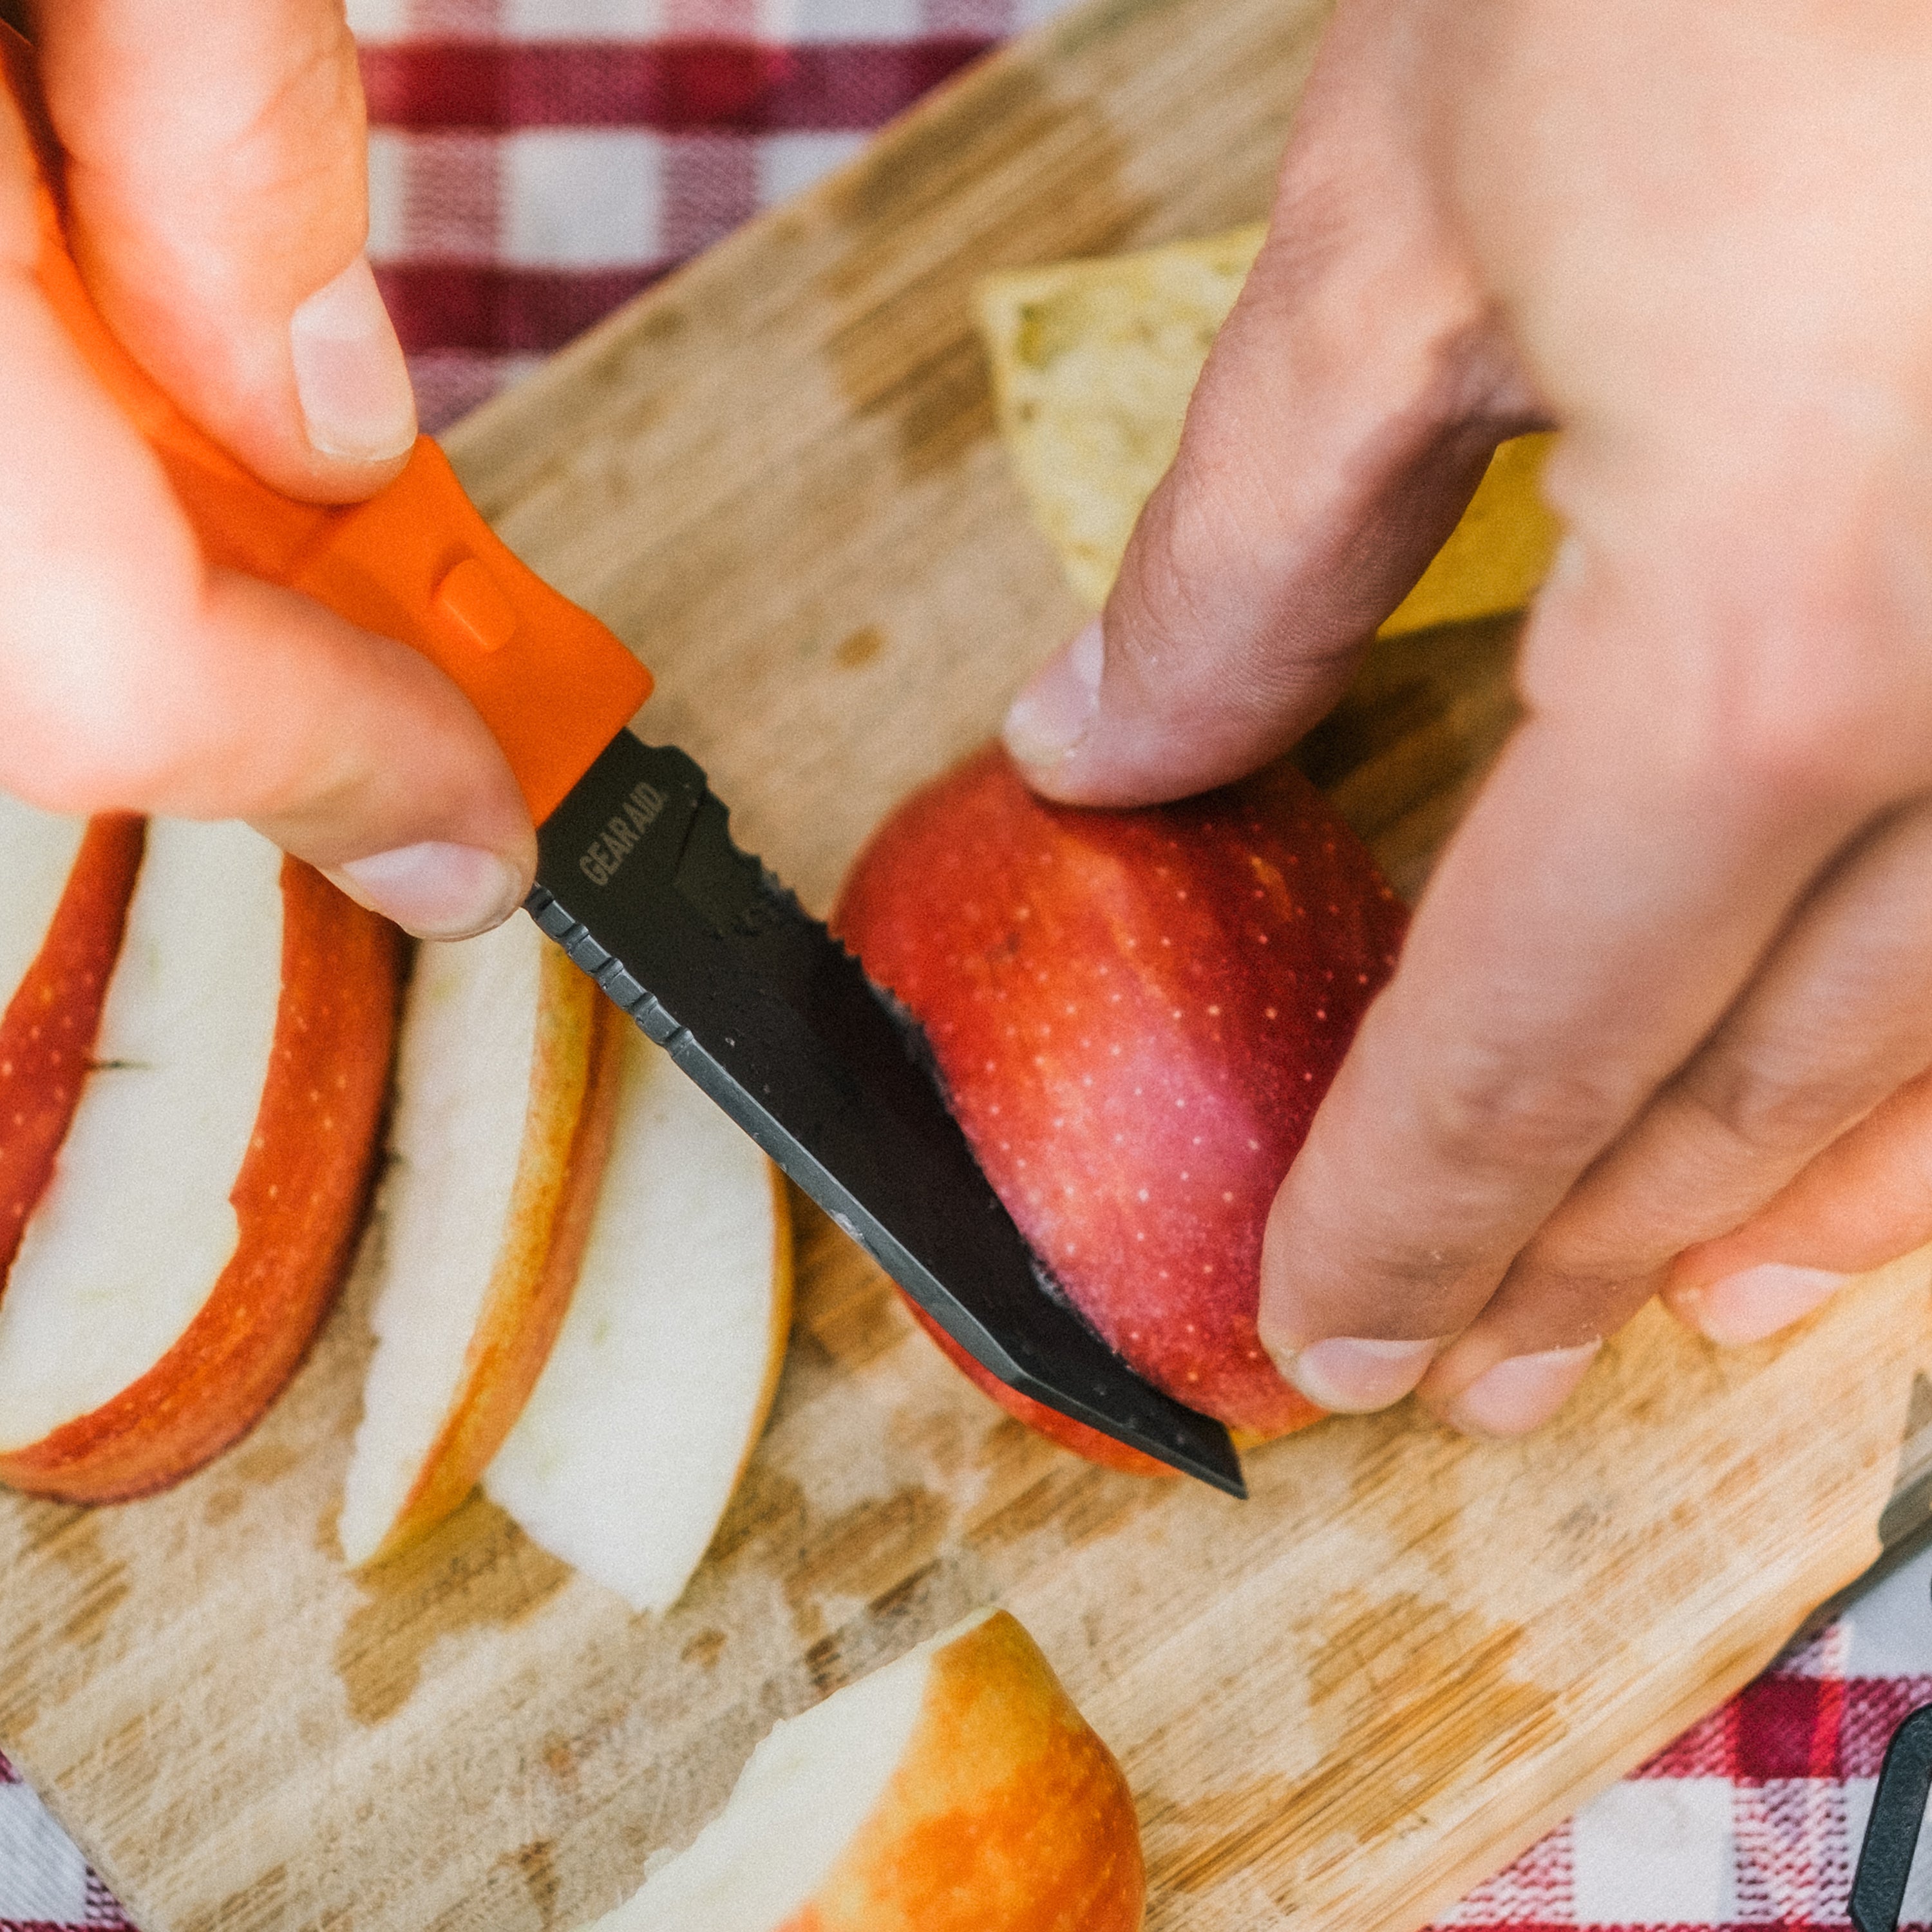
While not in my repair kit, I also carry a knife with me while floating. A knife, like the Buri Utility Knife, is an important safety tool and is also useful for cutting out the right shape for a patch. On top of that, the Buri is so versatile on the water and at camp, I take it almost everywhere. I also have a quick-drying towel in my larger dry bag on longer floats. Not only is it useful in case I get wet, but it helps keep my repair area clean when I am patching a hole.

These suggestions are a foundation to a great packrafting kit that you can dial in and perfect for your needs and trip types. But with just these few key items, you are ready for a variety of floating adventures, from a lazy weekend exploring the local lake to an epic multiday trip in canyon country.
— Molly M., GEAR AID Ambassador
ABOUT THE AUTHOR:
Molly Malone is a gear repair enthusiast and GEAR AID ambassador. A lover of climbing, packrafting, bikepacking, and backcountry skiing, she uses and abuses a variety of gear year-round. Her greatest achievement is still using the same windshell for over a decade- it is now more tenacious tape than the original material.

